Simple LED Flashlight
 par ALABS


1 / 7
Fichiers imprimables (2)
-
 stl
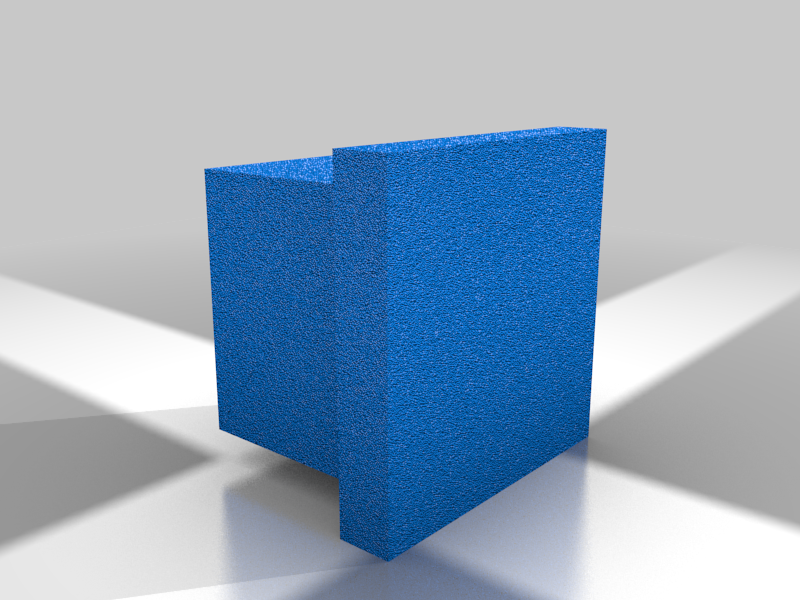
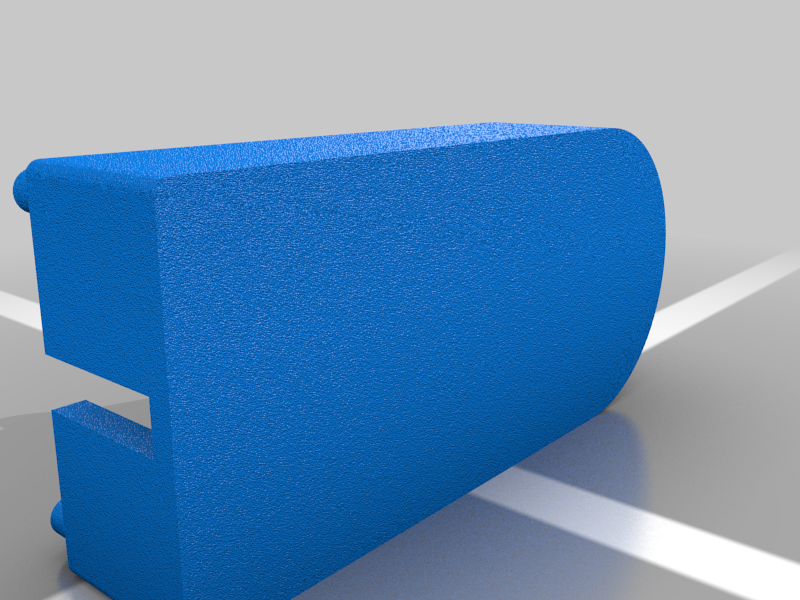
stlButton.stl
1 Ko · 1 355 téléchargements
-
 stl
stlEnclosure.stl
60 Ko · 1 345 téléchargements
Description
This simple LED flashlight is designed to teach people how to solder, use a 3D printer, and use a laser cutter. I ordered all of the electronics components from Adafruit, but you could use any components you have lying around.
Part List:
- https://www.adafruit.com/product/783 - Battery holders
- https://www.adafruit.com/product/754 - 25 pack of LEDs
- https://www.adafruit.com/product/2174 - 5 pack of LED Holders
- https://www.adafruit.com/product/654 - Batteries
- https://www.adafruit.com/product/2780 - 25 pack of resistors
- https://www.adafruit.com/product/367 - 20 pack of buttons
- Sheet of 1/8 inch clear acrylic
Instructions:
- 3D print the enclosure
- 3D print the button
- Laser cut the window out of 1/8 inch thick clear acrylic
- Trim leads from LED, resistor, and battery holder so that they fit in the enclosure.
- Solder positive (red) lead from battery holder to one end of the resistor.
- Solder other end of the resistor to one leg of the momentary button.
- Solder the other end of the momentary button to the positive (long leg) side of the LED.
- Note: The momentary button has four legs. The legs are arranged into two pairs of connected legs. When you press the button, all four legs are connected.
- Solder the negative side (short leg) of the LED to the negative (black) lead from the battery holder.
- Insert the LED holder into the front hole of the enclosure.
- Hot glue or epoxy the battery holder to the bottom of the enclosure so that you can easily change the batteries.
- Push the LED into the LED holder and place the button on the raised platform in the middle of the enclosure. The legs of the button should straddle the platform.
- Place the 3D printed button in the square cutout in the acrylic window.
- Snap the window onto the enclosure.
- Put batteries in the battery holder and enjoy!