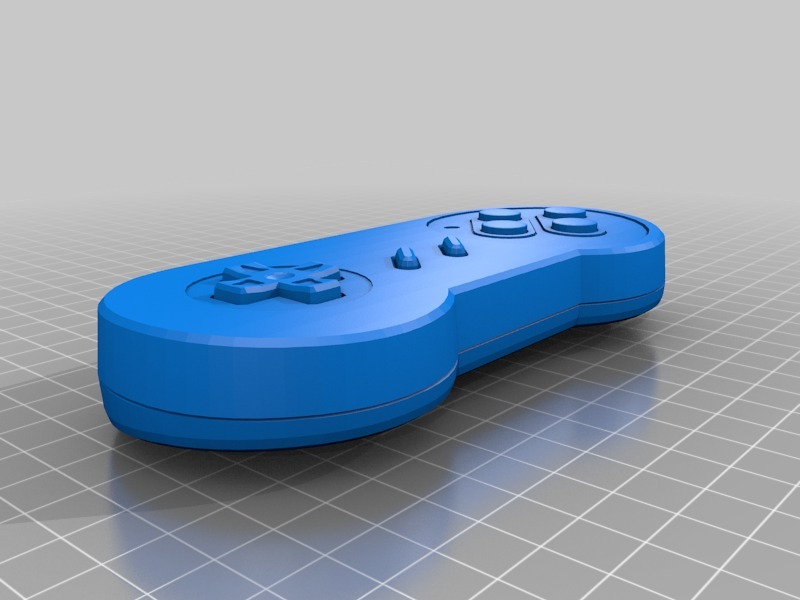
SNES controller
 par srepmub


Fichiers imprimables (14)
-
 stl
stlsnespad.stl
6 Mo · 13 749 téléchargements
-
 stl
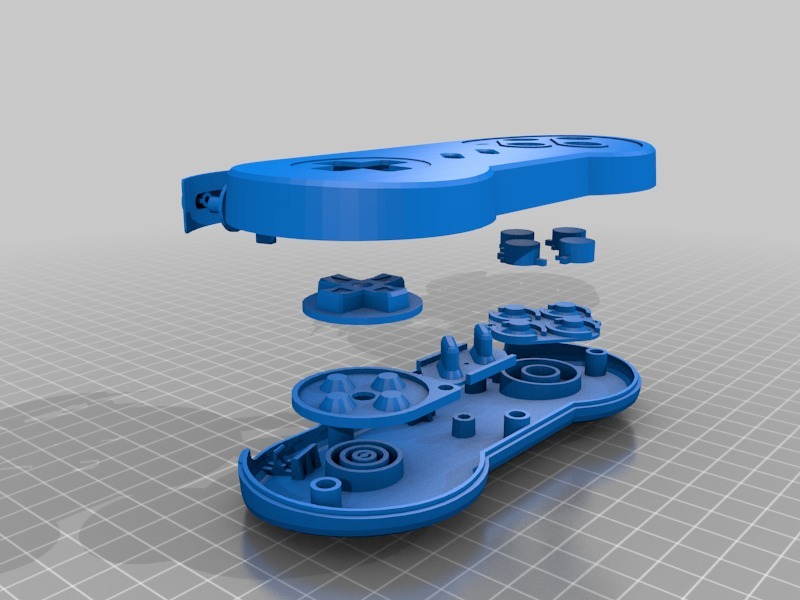
stlsnespad_exploded.stl
5.9 Mo · 13 563 téléchargements
-
 stl
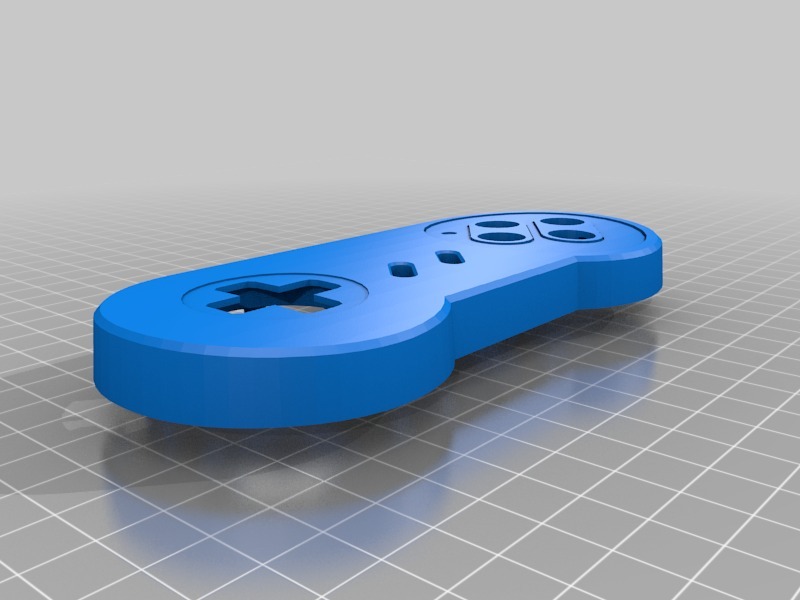
stlupper.stl
1.8 Mo · 13 993 téléchargements
-
 stl
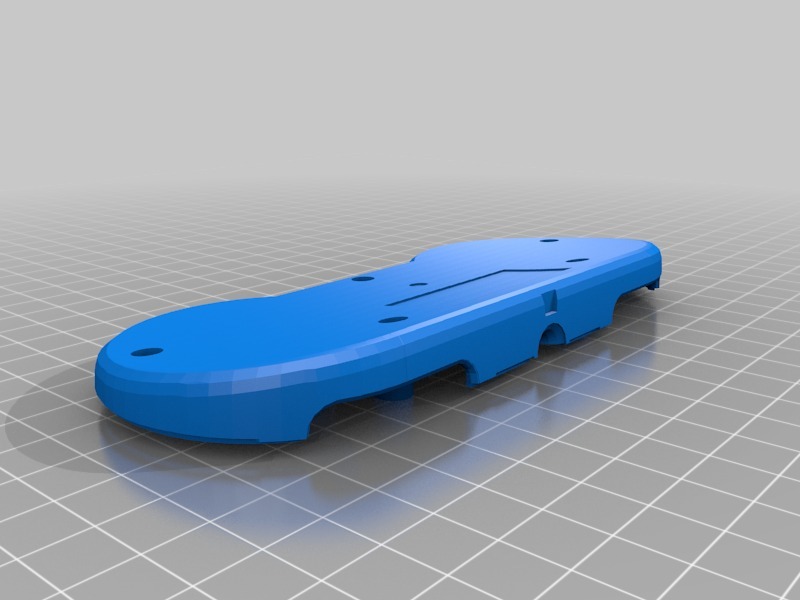
stllower.stl
1.9 Mo · 13 740 téléchargements
-
 stl
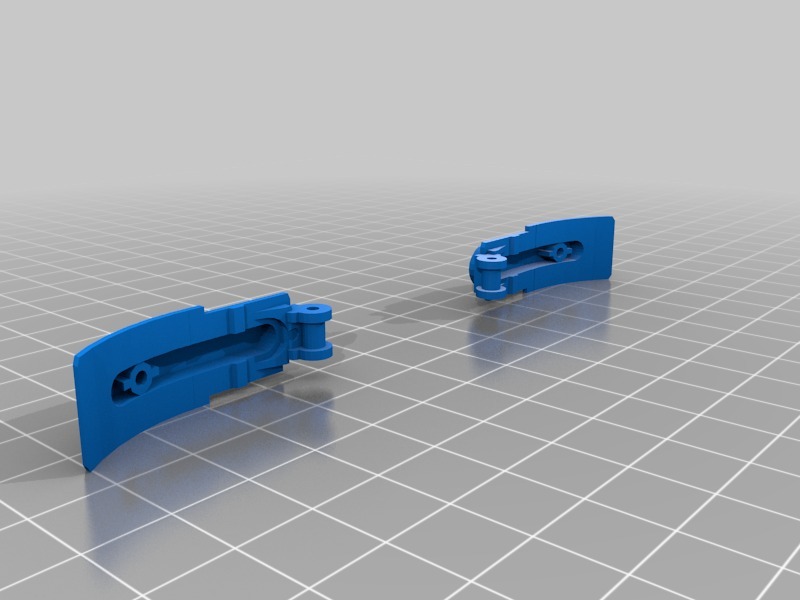
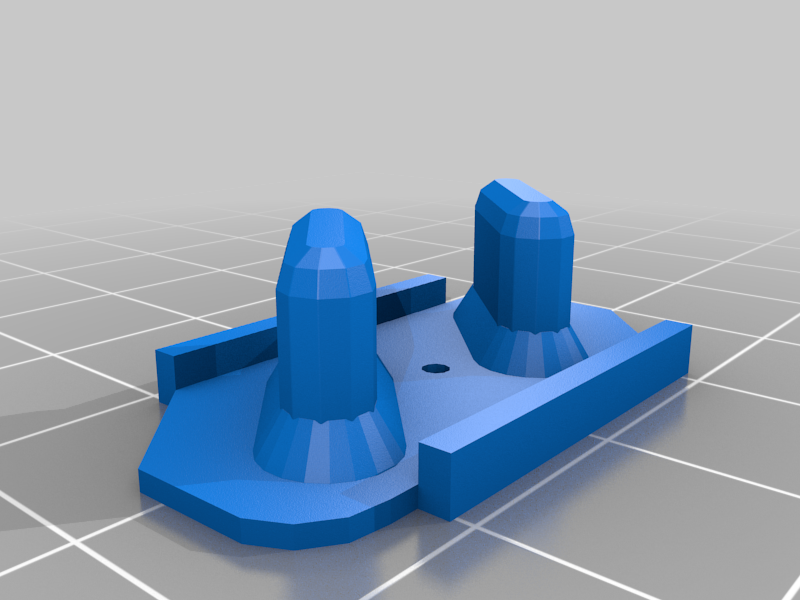
stlrbuttons.stl
435 Ko · 13 602 téléchargements
-
 stl
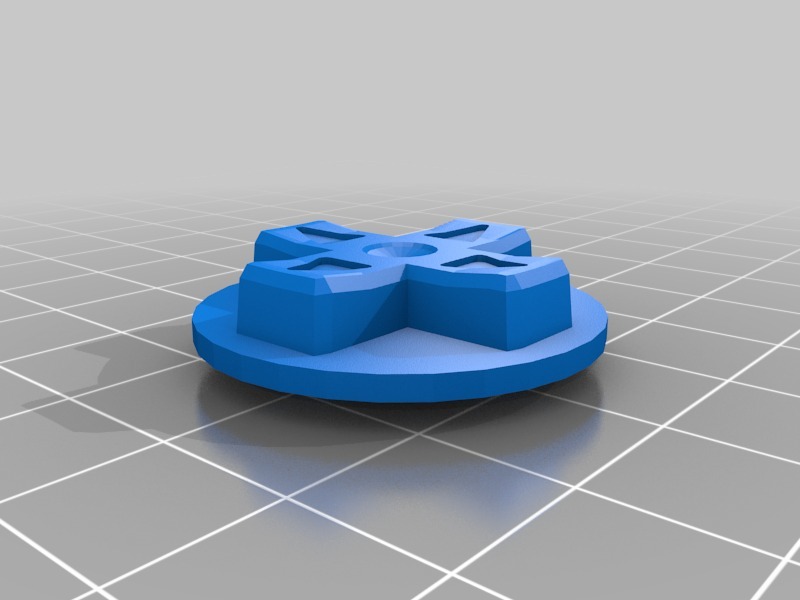
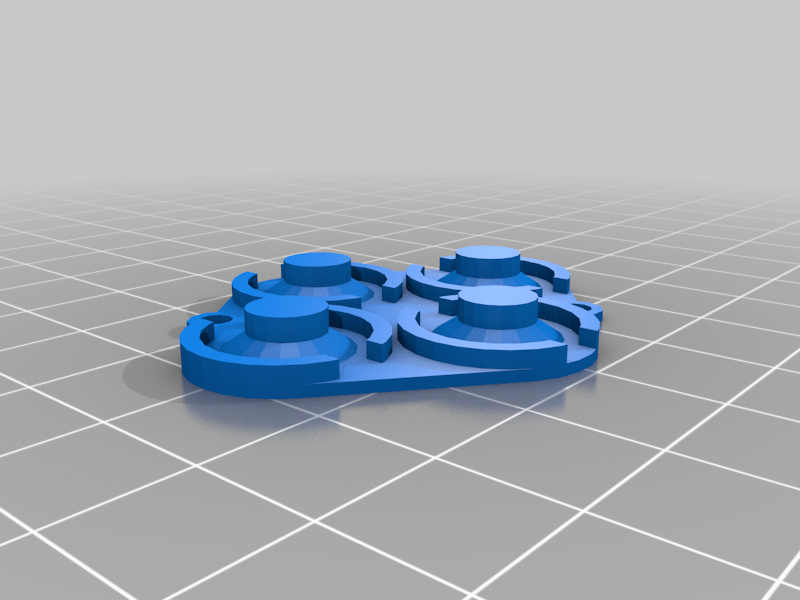
stlkeypad.stl
410 Ko · 13 685 téléchargements
-
 stl
stlbutton_green.stl
75 Ko · 13 452 téléchargements
-
 stl
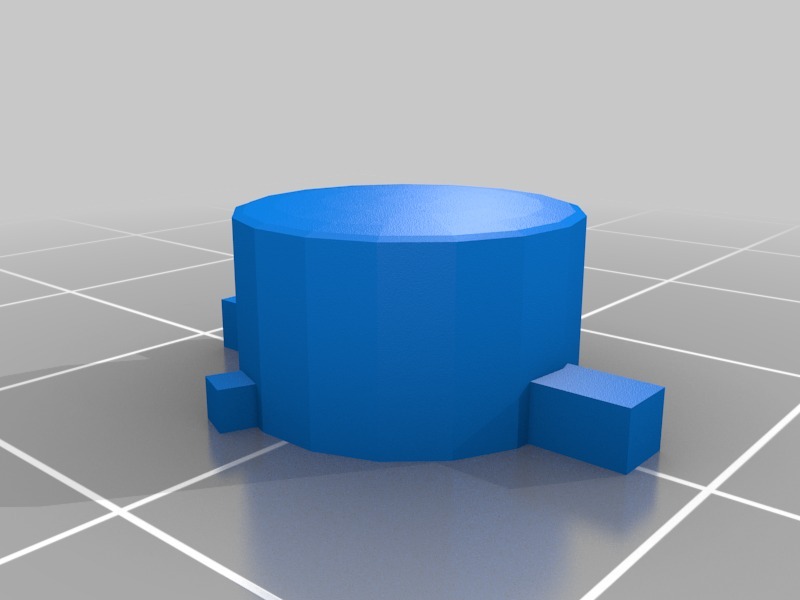
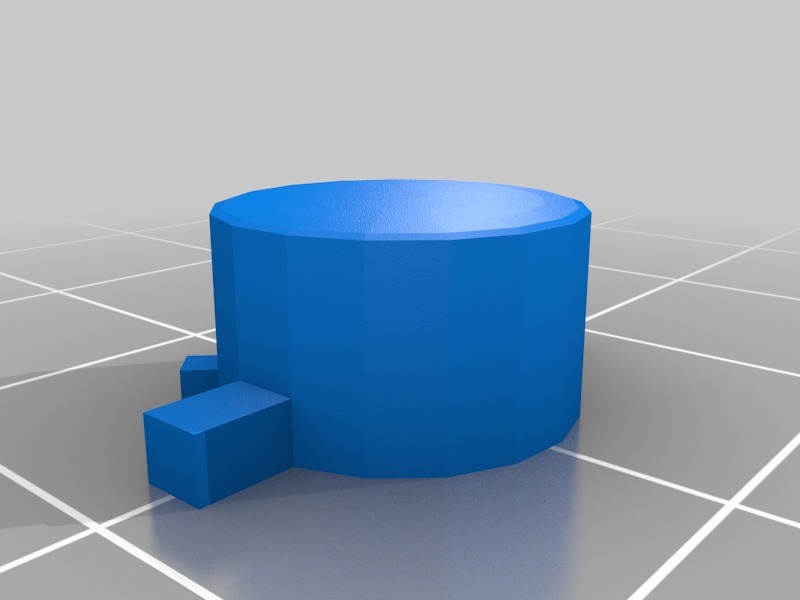
stlbutton_blue.stl
73 Ko · 13 458 téléchargements
-
 stl
stlbutton_red.stl
73 Ko · 13 402 téléchargements
-
 stl
stlbutton_yellow.stl
75 Ko · 13 389 téléchargements
-
 stl
stlfire_rubber.stl
361 Ko · 2 486 téléchargements
-
 stl
stlsel_start_rubber.stl
278 Ko · 2 518 téléchargements
-
 stl
stlkeypad_rubber.stl
223 Ko · 2 483 téléchargements
-
 stl
stlr_rubber.stl
108 Ko · 2 458 téléchargements
Description
Spectacularly useless replica of the wonderful SNES controller/joypad. Electronics and connector not included. Rubbers quickly modeled and not printed/tested. Perhaps these could be made with flexible filament. Looking forward to also replicating the PCB once my printer can mill those.. ;-)
Because retro gaming is best done on original hardware of course, it might be interesting to combine this with a SNES emulator.. Tested for now on a real SNES, and everything works well.
Additionally serves as a nice construction puzzle for kids.. ;-)
See also my previous controller model, for the Suzo International Arcade Stick:
http://www.thingiverse.com/thing:30198
http://www.thingiverse.com/thing:30008
update: Also recreated the electronics, based on schematics provided by Raphael Assenat:
http://www.raphnet.net/electronique/arcade_control/arcade_control_en.php
the PCB was milled on a PCB Cyclone, built with my 3d printer:
https://github.com/CarlosGS/Cyclone-PCB-Factory
the hardest part of the electronics was to figure out that for a PAL SNES, you need one or more pull-up resistors on the incoming latch/data/clock lines, with quite specific values; for me, a 467 ohm resistor on just the clock line did the trick. if this is wrong, typically just the B button will work. note that I used 10kohm resistors for the buttons.
I also put a bit of aluminum tape under the select and start buttons, or they wouldn't work (probably solvable my moving away from the 10kohm resistors?). after this, all buttons work well.
I hope to publish one more update before too long, with the flexible rubbers, connector and the small PCB's for the L & R button.
update 2: added flexible parts as .stl, but please note that they are untested and probably won't fit correctly.