Bee Robber Screen


Fichiers imprimables (13)
-
 stl
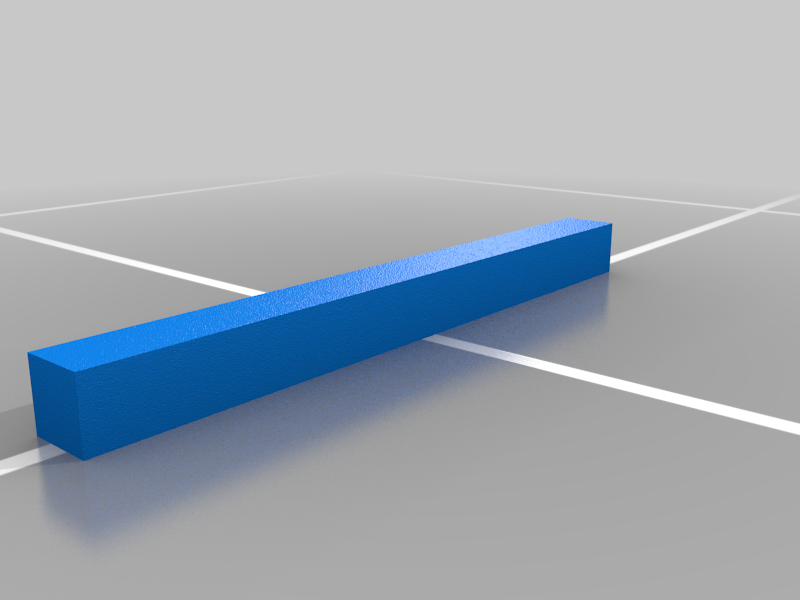
stlBar1.stl
1 Ko · 1 313 téléchargements
-
 stl
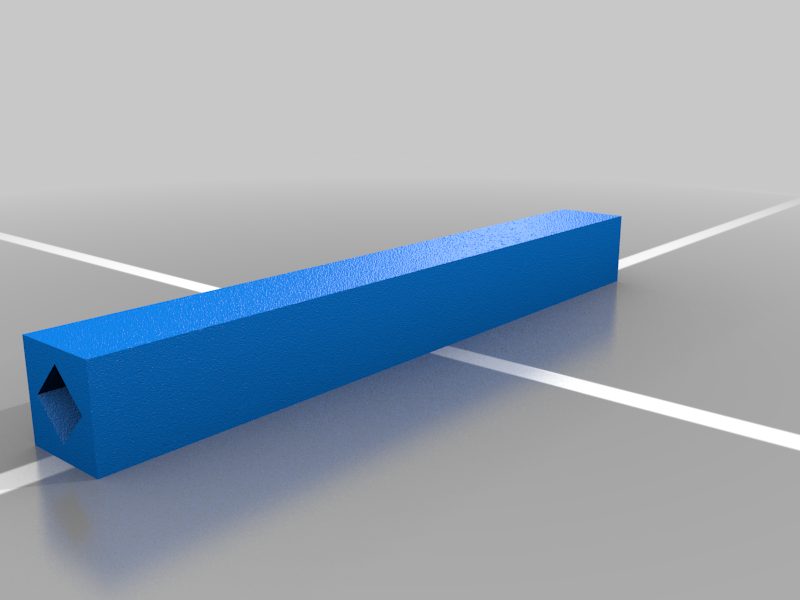
stlBar2.stl
684 o · 1 329 téléchargements
-
 stl
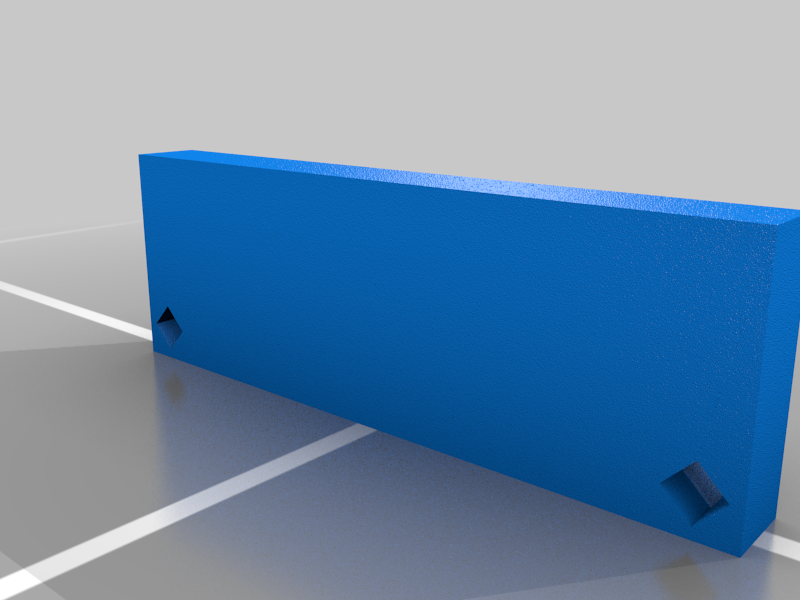
stl10_Frame_Lf.stl
1 Ko · 1 300 téléchargements
-
 stl
stl8_Frame_Bar_L_wHoles_V2.stl
2 Ko · 342 téléchargements
-
 stl
stl2_inch_End_wHoles_V2.stl
3 Ko · 345 téléchargements
-
 stl
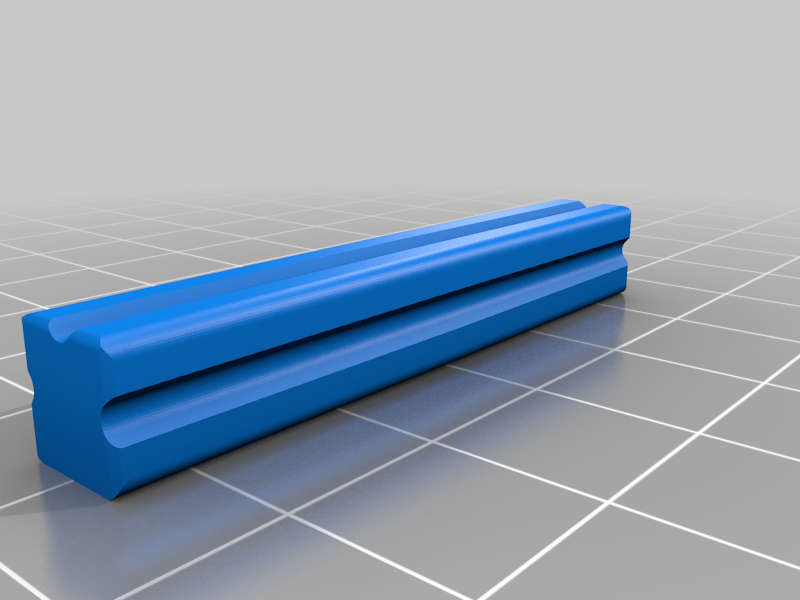
stlSpline_V2.stl
179 Ko · 342 téléchargements
-
 stl
stlTapered_Plug_V2.stl
270 Ko · 342 téléchargements
-
stl
One_Piece_Robber_Screen.stl
2 Ko · 369 téléchargements
-
 stl
stl2inchEnd.stl
1 Ko · 1 373 téléchargements
-
stl
Bar1.stl
1 Ko · 1 368 téléchargements
-
 stl
stlSpline.stl
5 Ko · 1 361 téléchargements
-
stl
Bar2.stl
684 o · 1 347 téléchargements
-
 stl
stlBar1.stl
1 Ko · 1 303 téléchargements
Description
This is my interpretation of a honeybee robbing screen developed by Dr. Eric Mussen at UC Davis. I have had better robbing prevention success with a taller screen (6in) and more durability with a complete frame. Bees, especially in close proximity, will rob honey from weaker or smaller bee colonies when there is a nectar dearth and this screen drastically cuts down on such robbing. Research honey bee robbing at UC Davis for more information on how it works.
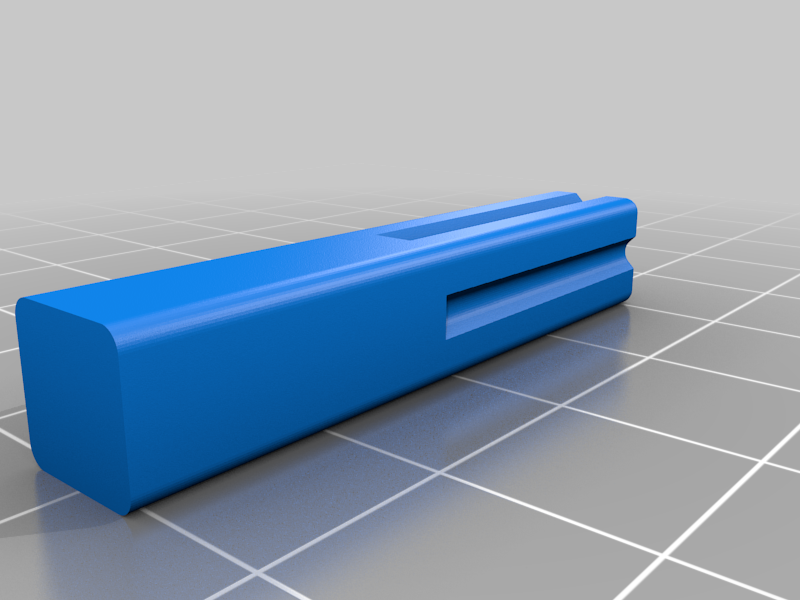
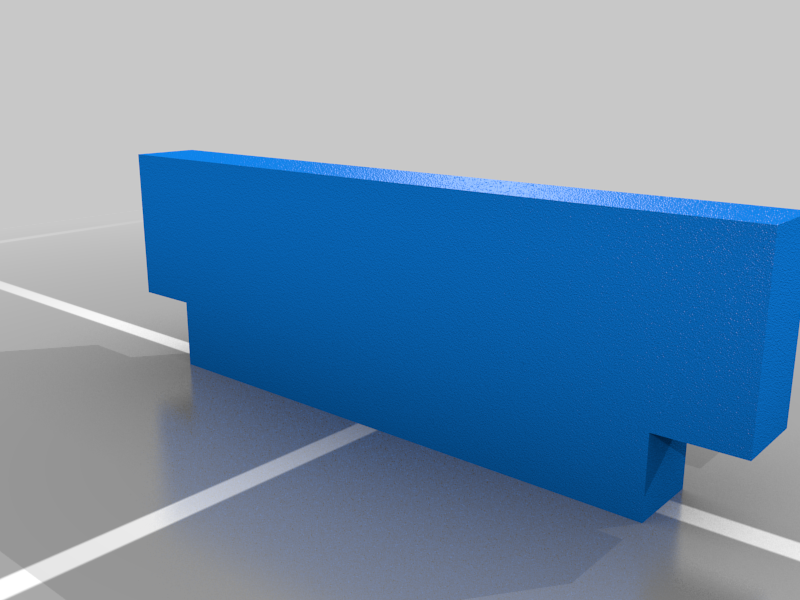
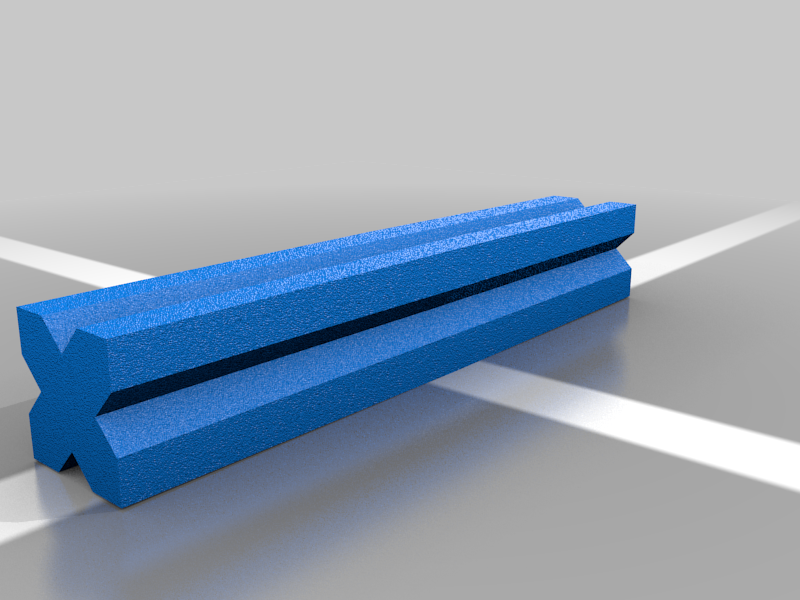
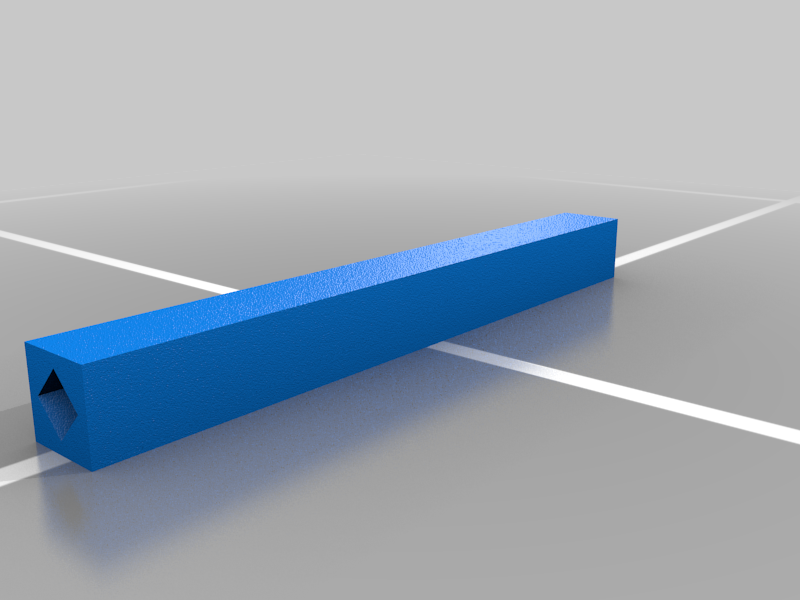
For a complete screen, two ends (sides) four bars (stiles) and two splines need to be printed. Two bars and a spline make a complete stile. The bars are designed so that they can be printed laying flat without supports for the spline cavities. The stiles can be assembled with or without glue. The attach point to sides can be glued and/or screwed/stapled together. One may want to place on the beehive so that some minor adjustment can be made for hive width during assembly. A fine nylon or steel mesh must be glued or stapled to the outside of the robber screen body to allow airflow but no passage for bees.
As a side benefit, the bars and sides can be printed in different colors to create a unique pattern for each hive allowing bee to imprint on the color/pattern combination to prevent "drifting". These screen can be used year-around but also can be removed during nectar flows.
This particular screen fits an eight frame deep or medium hive body with base. I use a small lashing strap to hold the screen to the hive body but it can be held in place with a small interference fit, screwed or nailed.
3/20/19
Added 10 Frame stiles
7/1/20 Update -
As the start of robbing season starts (at least in N Georgia) I have a newer modular design (V2) that still allows for mixing and matching colors/patterns, is printable on smaller printers (e.g. FFCP) but uses tapered plugs and stiles for assembly (V2) with glue instead of staples and glue (original). I also added a stl for printing the whole screen as one large part (One piece Robber screen) for people with larger printers.
All of the new screen parts (specifically the bars) are for 8 frame hives because, frankly, that is all I use now. I can be persuaded to add 10 frame bars if there is enough interest.
Another improvement I have found since the last time I posted these parts (v 1), I have discovered anew Cura and its many interesting options. One that is most interesting is the Gyroid fill. I use gyroid at 5% infill with four outer layers and am pleased how strong it is and how it handles the staples I use to attach the screen/hardware cloth. I also use UHU adhesive on the plugs and stiles and in the bar holes that accept them. It takes a day or so for the adhesive to set up with still some "give" to let the screen settle into less than "square" situations.As with the original, I like to take advantage of the colors and patterns on the hive entrance to encourage better homing and discourage drifting. I now almost exclusively use PETG although PLA should work as good for this application.
For colors, I have been using Green, Blue, Purple and Yellow so the bees can see the color. As bees approach an object they reportedly "turn off" their color vision and see shades of gray so the visual pattern makes a difference close up.