Raspberry Pi 4 Case
 par mccawley74


Fichiers imprimables (24)
-
 stl
stlCase_Foot.stl
4 Ko · 3 075 téléchargements
-
stl
PSU_Cover_Solid.stl
148 Ko · 3 020 téléchargements
-
stl
PSU_Cover_Sloted.stl
161 Ko · 3 015 téléchargements
-
stl
case_bottom.stl
396 Ko · 3 030 téléchargements
-
stl
Case_Foot_adjustable.stl
949 Ko · 3 000 téléchargements
-
stl
PSU_Cover_Side.stl
15 Ko · 3 020 téléchargements
-
stl
Reservoir_Holder.stl
304 Ko · 3 015 téléchargements
-
stl
case_side_windowed.stl
15 Ko · 3 022 téléchargements
-
stl
case_top.stl
61 Ko · 3 038 téléchargements
-
stl
Power_Button.stl
890 Ko · 3 010 téléchargements
-
stl
case_front.stl
1.5 Mo · 3 041 téléchargements
-
stl
Pi_Board_Holder.stl
602 Ko · 3 024 téléchargements
-
stl
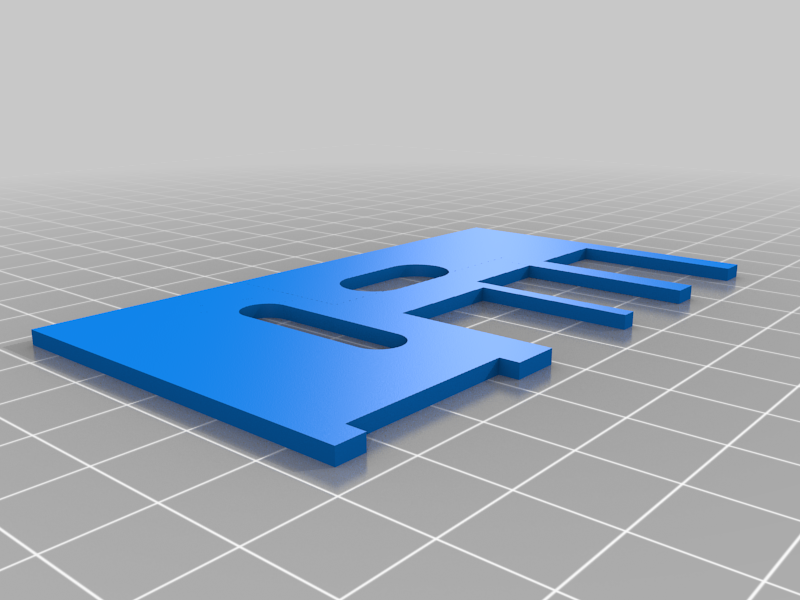
case_side_solid_logo.stl
2.9 Mo · 3 008 téléchargements
-
stl
case_side_solid.stl
3.8 Mo · 3 007 téléchargements
-
stl
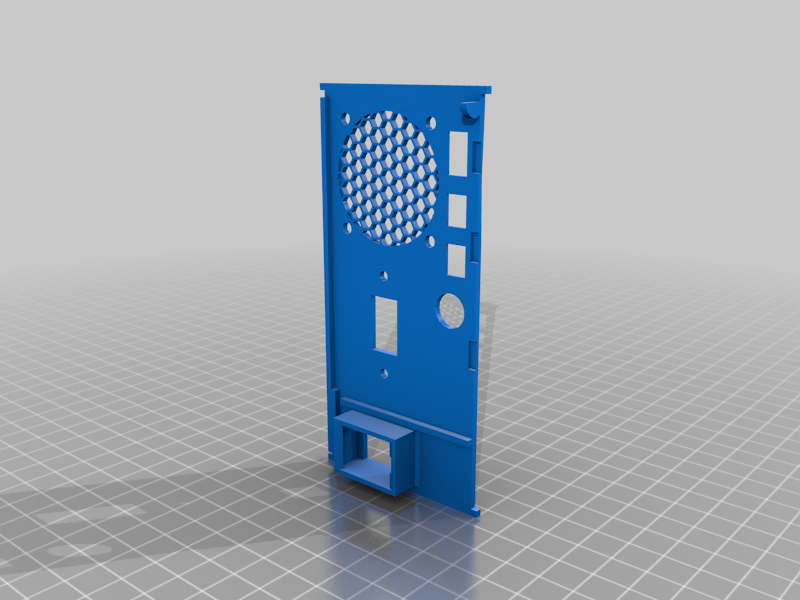
case_back.stl
58.8 Mo · 3 048 téléchargements
-
stl
case_grill.stl
102.8 Mo · 3 099 téléchargements
-
stl
SSD_2.stl
1.1 Mo · 3 002 téléchargements
-
stl
PSU_Cover_Solid_Pi_3.stl
187 Ko · 2 644 téléchargements
-
stl
case_back_Pi_3.stl
4.4 Mo · 2 664 téléchargements
-
 stl
stlUSB_Passthrough_PSU_Cover_Cable.stl
251 Ko · 1 930 téléchargements
-
 stl
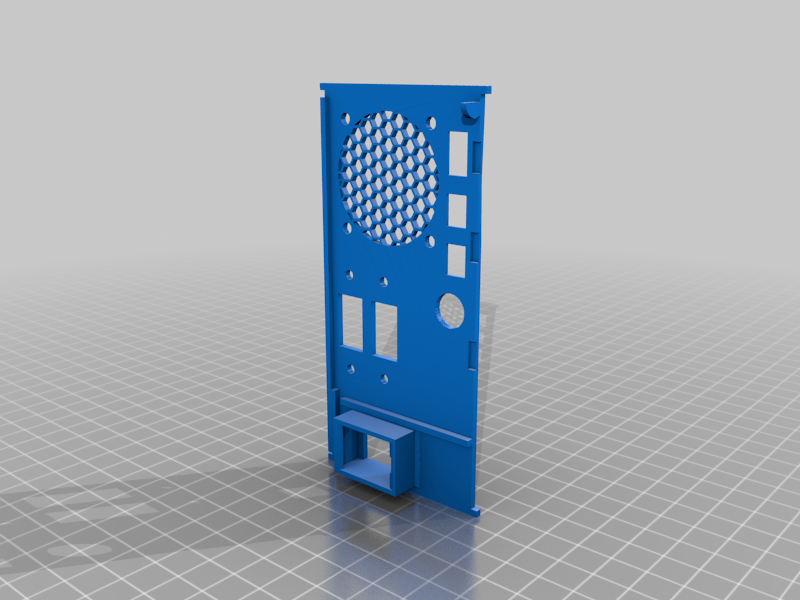
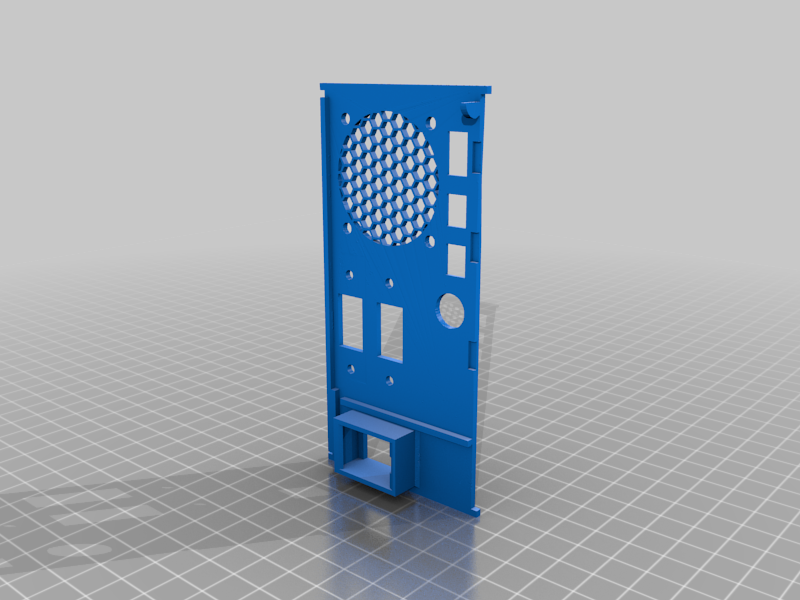
stlUSB_Back_One_Slot.stl
23.4 Mo · 1 929 téléchargements
-
 stl
stlUSB_Back_Two_Slot_2.stl
23.1 Mo · 1 951 téléchargements
-
 stl
stlUSB_Back_Two_Slot_1.stl
23.1 Mo · 1 937 téléchargements
-
 stl
stlcase_front_30x30mm_fans.stl
5.7 Mo · 370 téléchargements
Description
Raspberry Pi case based on a gaming rig.
UPDATE: Added front panel to support 30mmx30mm fans
casefront(30x30mm fans).stl
UPDATE: Added files to make this case accept a Pi 3
I do not have a Pi 3, so it is untested, but should work.
PSU_Cover_Solid_Pi_3.stl
case_back_Pi_3.stl
UPDATE: April 24th 2021 Added files for USB on back. Single and double
- Rotating retractable feet.
- Removable front screen with space for a filter.
- Slide in side covers in both solid (with vent) or windowed (Rabbited for the thickness of an old CD case. Score one of the CD case panels with a razor and snap to shape)
- Two PSU covers (what would be the PSU). One solid and one for a USB panel mount, so you can insert a USB Drive internally in the case. I soldered up an old USB DOM and printed a SSD like case for it (included if you're interested)
- The back panel takes an RJ45 keystone jack like you would find at Home Depot. to extend the plug outside the case. (See images)
- The power button takes a small microswitch glued into the power button housing. (See images) You will need to sand/cut to length.
- There are two sets of feet, Solid and retracting. For the retracting, after inserting the foot into the peg, apply a tiny drop of glue to the center post and hold in place on the bottom of the case where you want the foot. I'd also wiggle the foot back and forth to keep it from gluing in place.
- The Pi Board holder is much like an actual case. Mount the board to the board panel with tiny screws, and insert into the case. It aligns with notches that you might need to sand a little to fit.This design allows room for cables to be brought down to the bottom section.
Non printed parts
CAT5E connector
RGB 40mm fans
Micro switch
USB Extension cable : Watch the angle Left/Right check you case, board, etc...
NOTES:
- I soldered a small breadboard to connect the three fans together and connected that to the Pi 5V connector
- Power button is connected to 5 and 6 (GPIO3 and GND) for controlling the power search google for "Raspberry Pi button wake functionality"
- This case fan combo pushes a lot of air and is a bit noisy. Great for a pi under full load, or you can connect the fans to 3.3v or use a resistor inline to slow them down. Not sure what that would do to the LED's though.
- All parts printed on normal settings with 22% infill except the power button and the feet that were 100% infill.
- Supports were needed. I'm sure you can figure out where they need to be,
- The case is designed to glue together all five sections. [ case_top.stl, case_bottom.stl, case_front.stl, case_back.stl, and PSU_Cover_Side.stl] Use superglue or CA Glue.
In closing
This case took to much time to make and went through a lot of design changes but was super fun to make. I hope you like it.
Questions welcome.