
Spellbind Eye
 door JackBurtonPCE


Printbare bestanden (9)
-
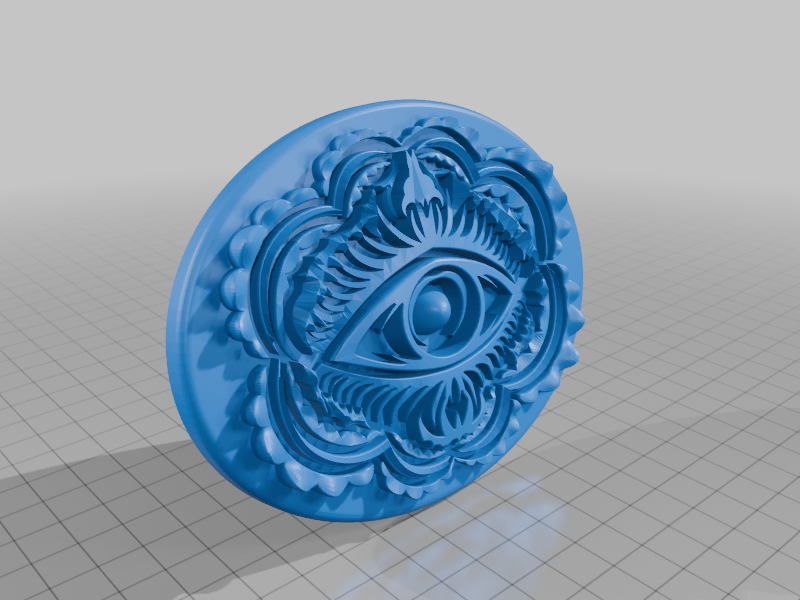 stl
stlSpellbind_Eye_Final.stl
4.6 Mo · 12 downloads
-
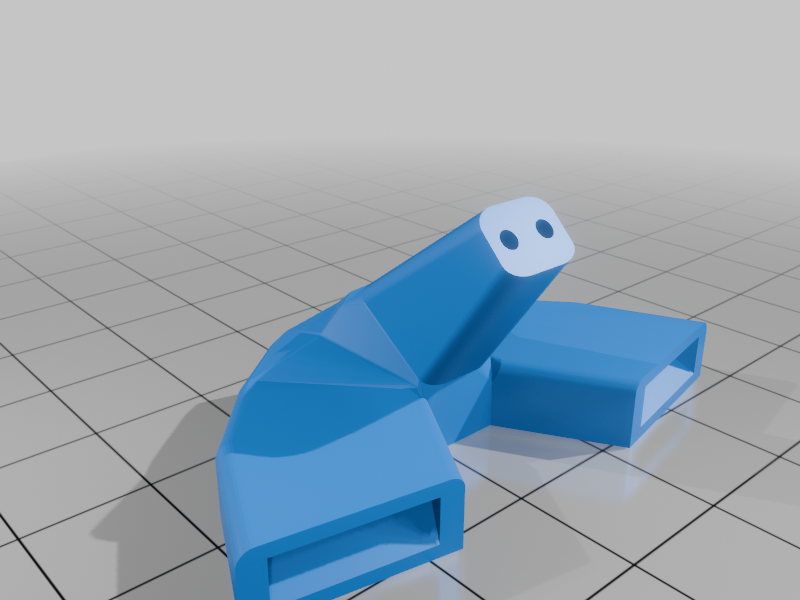 stl
stlBase_Final.stl
353 Ko · 9 downloads
-
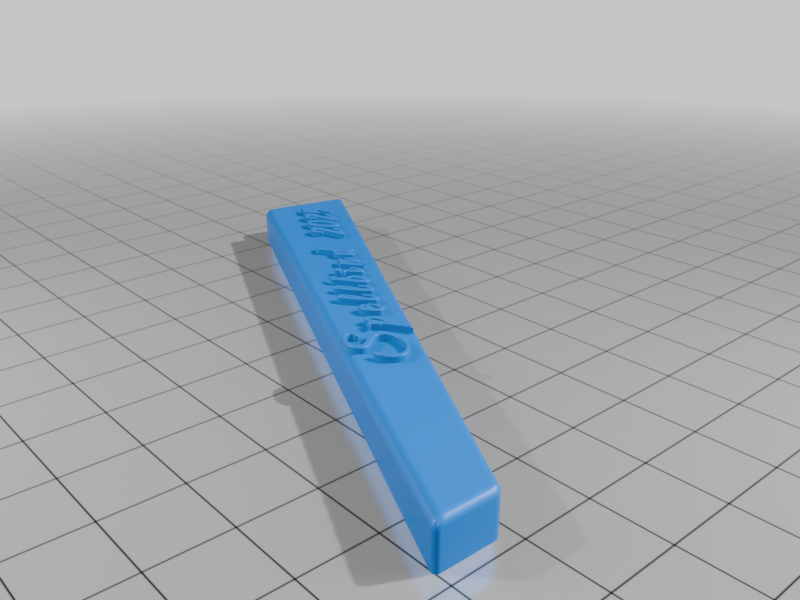 stl
stlSpellbind_Leg_Final.stl
24 Mo · 10 downloads
-
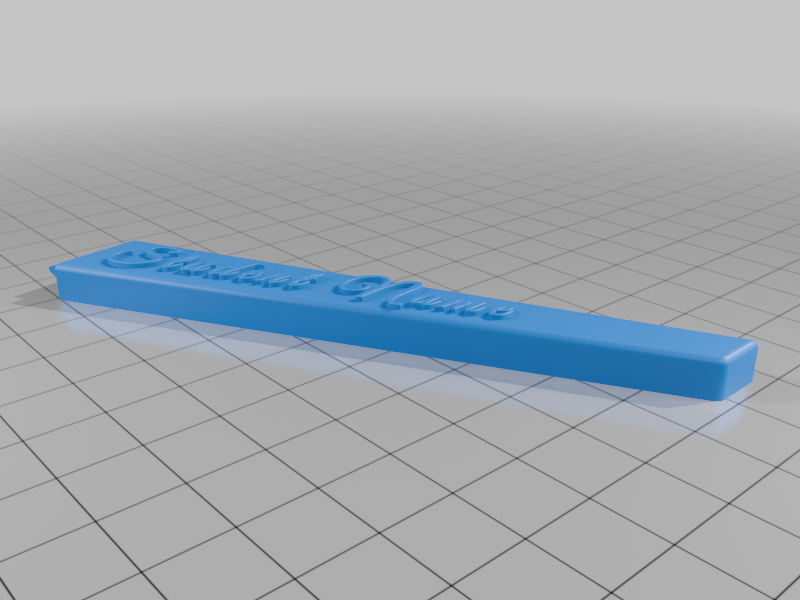 stl
stlSpellbind_Name_Leg_Final.stl
24.4 Mo · 9 downloads
-
 stl
stlBlank_Leg_Final.stl
40 Ko · 9 downloads
-
 stl
stlbase_assembler.stl
31 Ko · 9 downloads
-
stl
Spellbind_Eye_XL.stl
4.1 Mo · 9 downloads
-
stl
Base_Final_XL.stl
353 Ko · 9 downloads
-
stl
Spellbind_Blank_legsXL.stl
24 Mo · 9 downloads
Beschrijving
Made a 3D rendering of the central symbol for a winter arts marching group. Files shared here. Printed in PLA, Black for the background and base, Purple for the eye and Cyan for the lettering
I've also included the Blender file if you want to make a name leg for yourself!
Print Settings
- Printer QIDI Q1 Pro
- If you can change the wall print order to outer/inner. This significantly improves the printed holes so the wires fit just right.
- Spellbind Eye Final.stl - 0.12 layer height, 15% infill, no supports. I printed with variable layer heights and reduced the the eye portion @ 0.08 to maximize quality of the eye. Print the eye part in Silk filament to really make it shine. Change filament on the first layer above the plate. multi-color filament looks amazing for the eye parts.
- Base Final.stl - 20 layer height, 20% infill, no supports. Holes are oversized by .02mm. Print in all black.
- Spellbind Leg Final.stl, Blank Leg final.stl - 0.12 layer height, 15% infille, no supports. Again multi color, change filament on the first layer of lettering
XL Setting are the same, just bigger.
Assembly
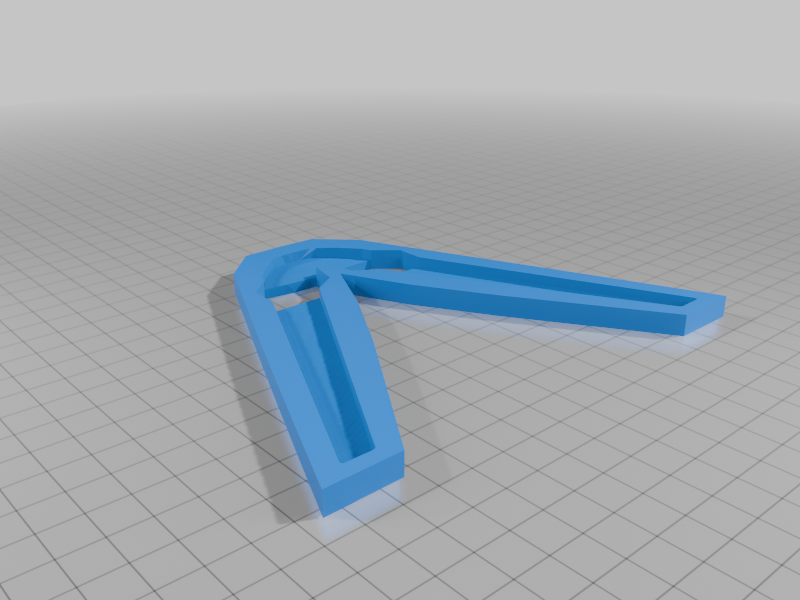
- The legs need to be glued into the base, the Base Assembler file can be used to easily align and glue regular sized the pieces together
- XL legs are one piece but can still be fit into the base. I ended up also sinking some leftover piano wire from the bottom through the legs to really secure the base and legs as the XL eye is quite heavy to suspend.
- 0.047" (~1.19mm) hobby/piano wire wire is needed to attach the eye to the base.
- Highly recommend gluing the wires into the back of the eye first
- Glueing the wires into the base is optional
- 0.060" (~1.6mm) hobby/piano wire is needed for the XL construction.
- This won't require glue, but can be used if desired.