Inclinometer
 von ramblejeff


Druckbare Dateien (7)
-
 stl
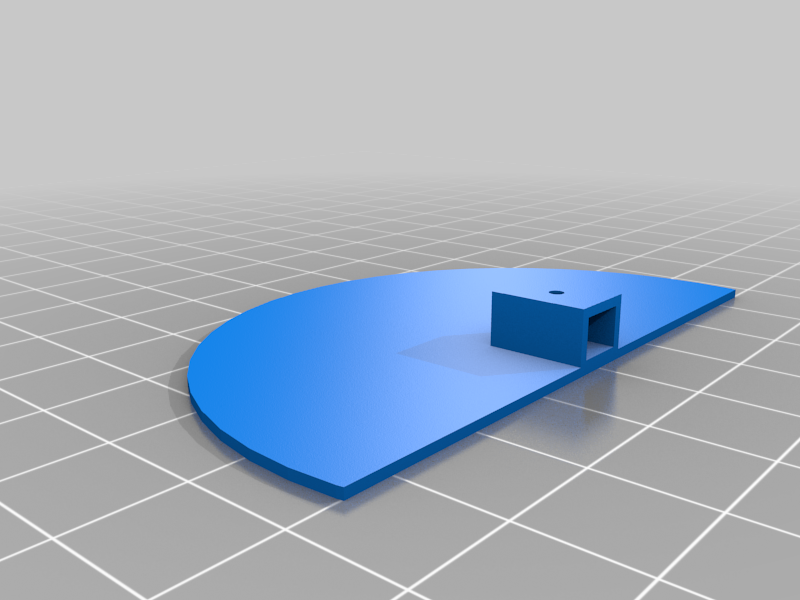
stlscale_holder.stl
90 Ko · 755 Downloads
-
 stl
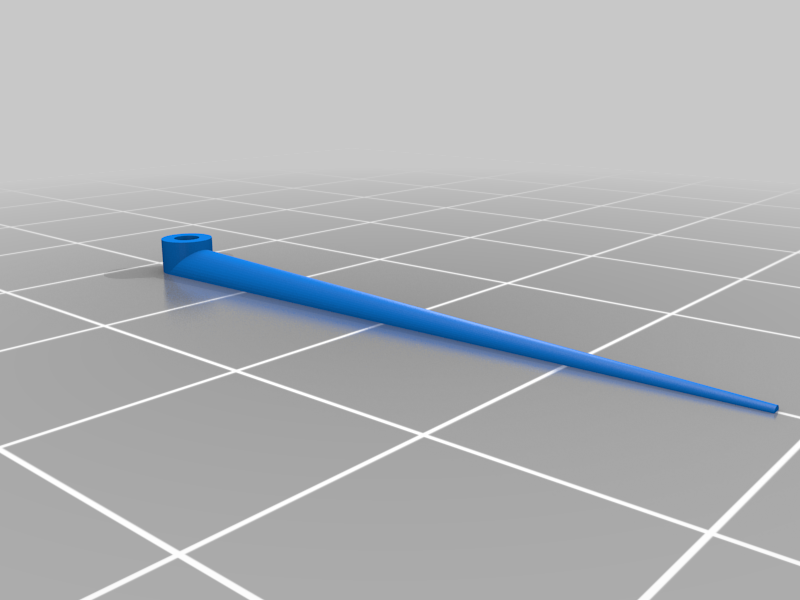
stlpointer.stl
91 Ko · 762 Downloads
-
 stl
stlClampBarP.stl
133 Ko · 767 Downloads
-
 stl
stlClamp_bar.stl
133 Ko · 764 Downloads
-
 stl
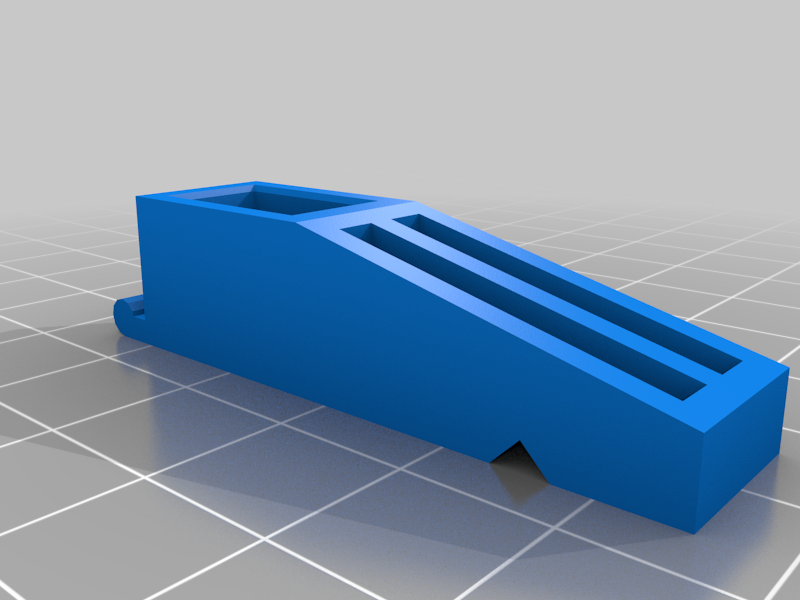
stlClampJaw.stl
34 Ko · 765 Downloads
-
 stl
stlClampWedges.stl
227 Ko · 753 Downloads
-
 stl
stlClampBar85.stl
44 Ko · 749 Downloads
Beschreibung
Print these parts:
- Scale_Holder
- Clamp_Jaw
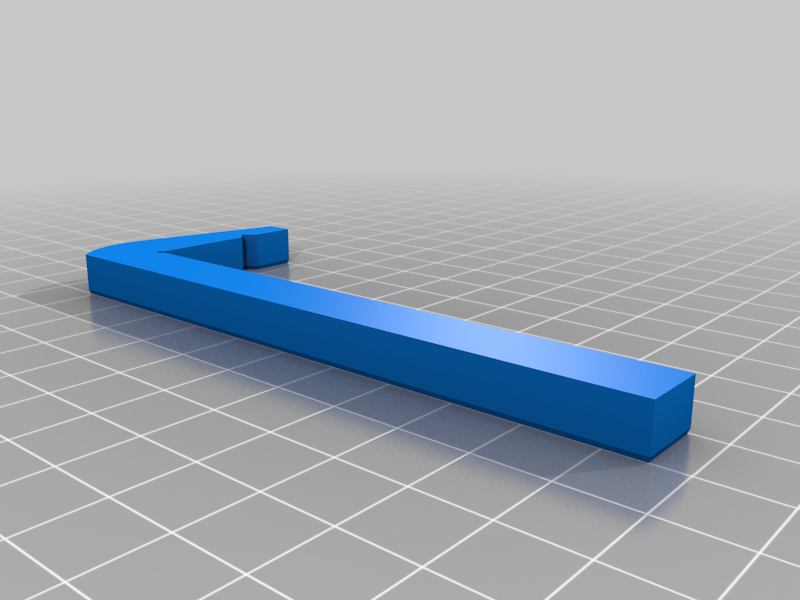
There are two clamp bars one has a hole at the end the other has a hole in the middle. Use the one you prefer.
- Clamp_Bar // Hole at the end
- Clamp_Bar_P // Hole in the middle
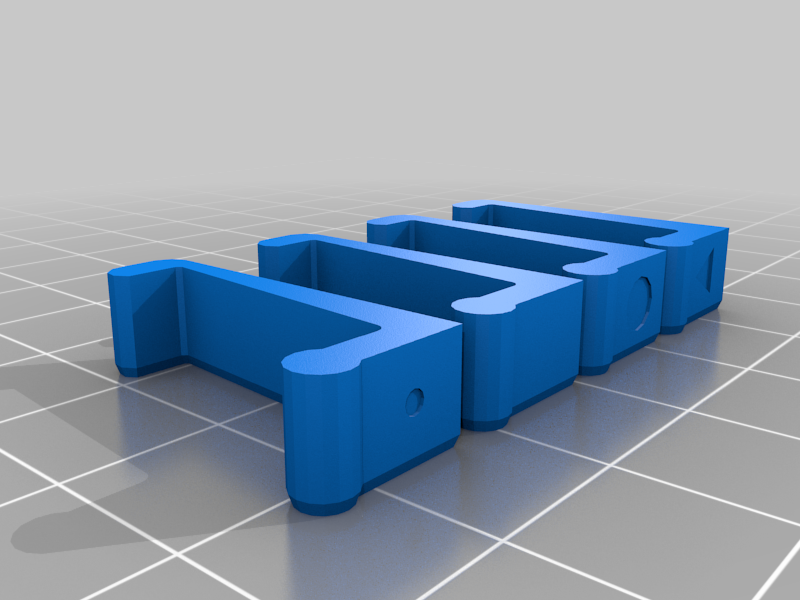
These parts are small and will require rafts:
- Pointer
Clamp_Wedges
Print Angle-Throw-Gauge.pdf.
Assembly
- From Angle-Throw-Gauge.pdf cut out a scale.
- Use 3M 77 Spray Adhesive or similair, to fasten the printed scale to the scale holder.
Assemble the clamp:
- Put a wedge through the hole in the Clamp Jaw
- Push the clamp bar through the hole in the Clamp Jaw
- Slide the wedge and check that the clamp jaw is locked
- Four wedges are printed. Use the one that works best
Pendulum and Axle
- Bend a paper clip to make the pendulm and axle.
- Push the Clamp Bar into the square hole on the Scale Holder.
- Align the hole in the Clamp Bar with the hole in the Scale Holder. A paper clip through the hole will help alignment.
- Glue the clamp bar in place.
- Push the pendulm axle through the hole in the Scale Holder and Clamp Bar.
- Push a small peice of tubing over the axle. It will stop the pointer from rubbing on the scale.
- Push the pointer on to the axle. A drop of glue will hold it in place.
- The pendulm should move freely without sticking. Use solder to increase the pendulm weight.
Sources
The clamp is a remix of “Hobby Clamps” by ModelStation, Hobby Clamps
And uses The Angle-Throw-Gauge.pdf, by Dennis Summer, Dennis Sumner's blog
Edit
2017/11/5 add new photograph and construction sequence