Mini MacPlus Case
 von Geekybit


Druckbare Dateien (5)
-
 stl
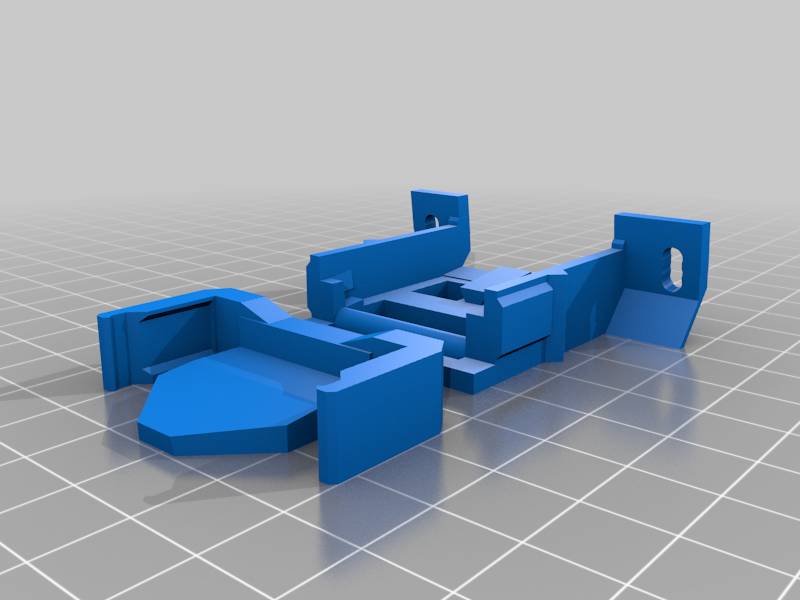
stlMiniMacPlusSDFloppyMount.stl
108 Ko · 77 Downloads
-
 stl
stlMiniMacPlusFrontCase.stl
209 Ko · 77 Downloads
-
 stl
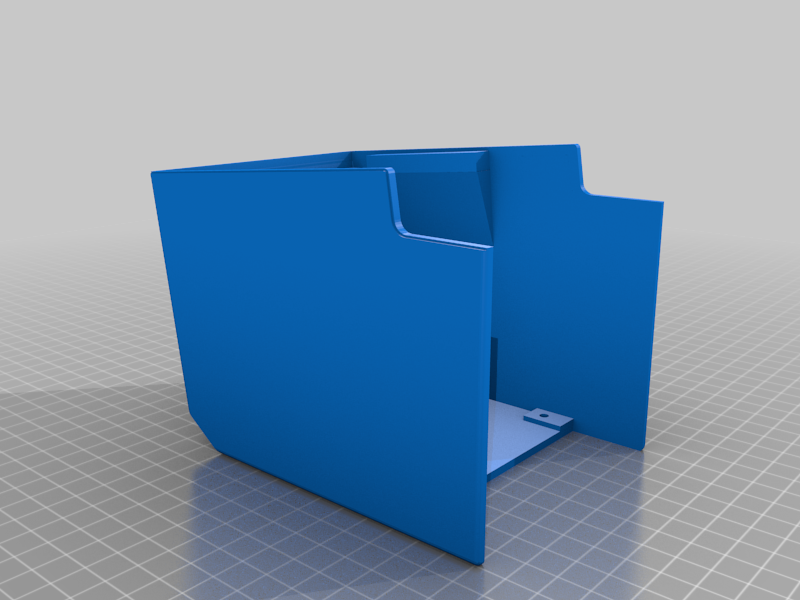
stlMiniMacPlusBackCase.stl
274 Ko · 75 Downloads
-
 stl
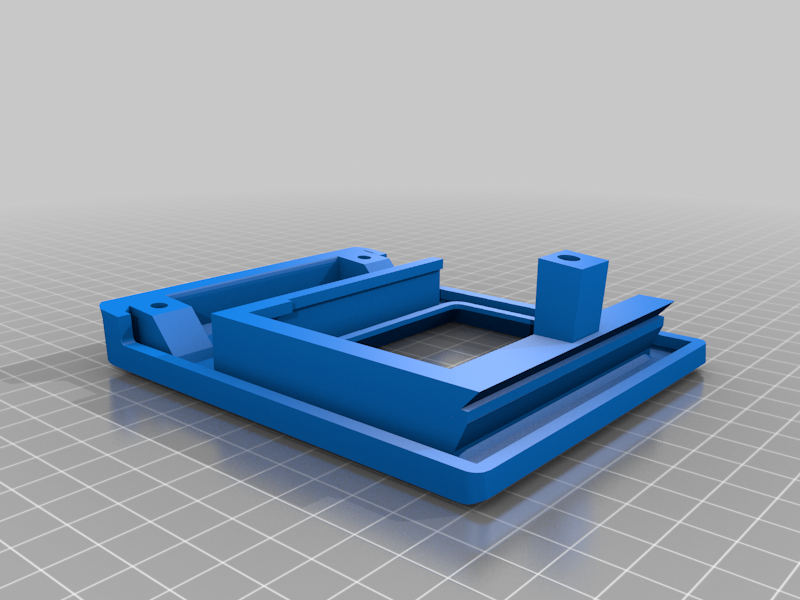
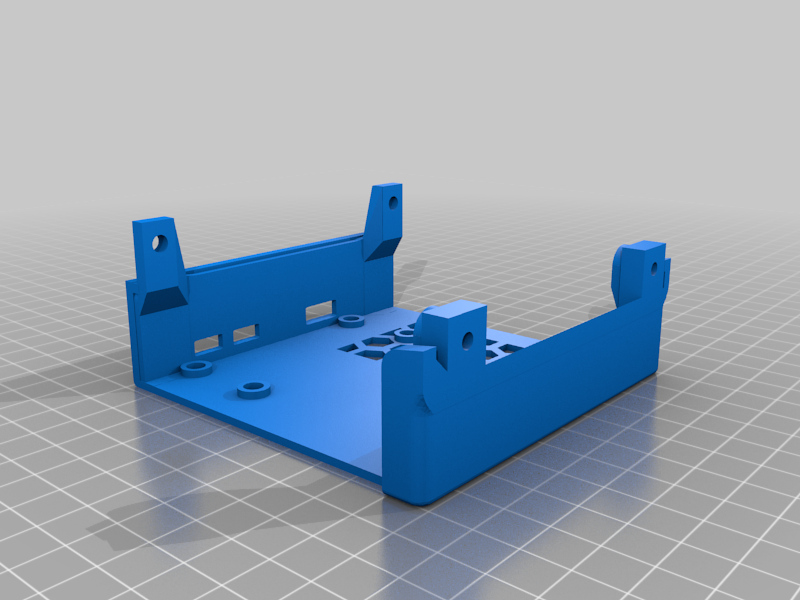
stlMiniMacPlusPi4BottomCase.stl
420 Ko · 76 Downloads
-
 stl
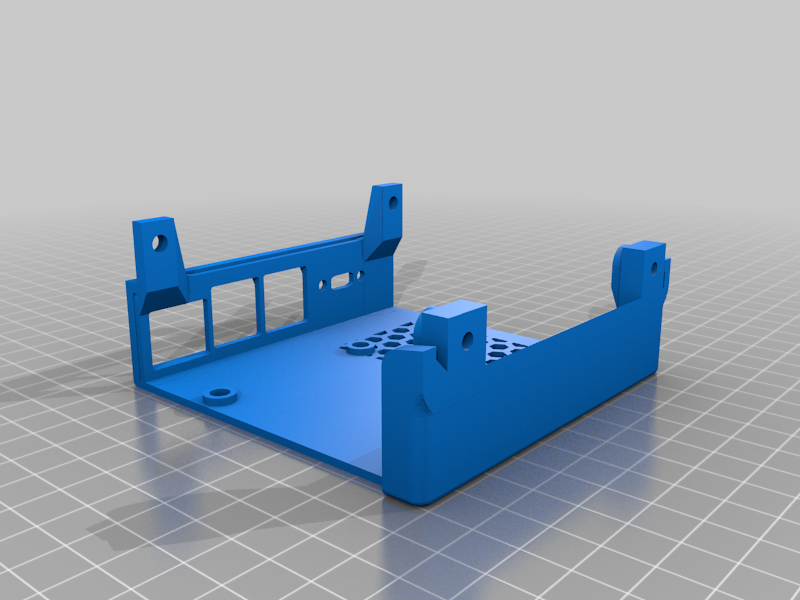
stlMiniMacPlusPiZeroBottomCase.stl
372 Ko · 77 Downloads
Beschreibung
You may Need to print with Supports for the Front Piece of the Case.
Each Piece has been Tested and optimized for print speed as best as I could.
The parts you will need for either build are:
The 3.5 Inch 640x480 screen Here is a link to it on Amazon US: https://www.amazon.com/gp/product/B08TBF5PHH/
Here is a link to how to configure it for your PI: https://www.waveshare.com/wiki/3.5inch_DPI_LCD
Regardless of what pi model you use you may need to comment out dtoverlay=vc4-fkms-V3D
You will need A GPIO Cable to connect the LCD Screen you can get that here
https://www.amazon.com/gp/product/B07D991KMR/
Next if you want to used The SD Floppy Mount with an SD Card you will need this Item Here is a link from Amazon https://www.amazon.com/gp/product/B085HLVMP5/
You will need to also get 4MM Tall m3 Threaded inserts To mount everything here is a link to some that I think are good https://www.amazon.com/initeq-M3-0-5-Threaded-Inserts-Printing/dp/B077CL322T/
Any should work though.
Then you will need some M3 Screws here is a cheap assorted set https://www.amazon.com/Hilitchi-420pcs-Stainless-Socket-Assortment/dp/B014OO5KQG/
You will need Some rubber feet something like this. https://www.amazon.com/Adhesive-Bumper-106-PC-Spherical-Square/dp/B06XPCLN23/
So these are all the items need for sure A pi 4 will also require a few extra goodies!
This SD card extender cable so you can get the SD card Flat against the front case. https://www.amazon.com/gp/product/B07QXPG8HG/
A USB-C extender cable to bring the power cord to the back of the Case like this
https://www.amazon.com/gp/product/B08HS6X44P/ or This https://www.amazon.com/dp/B08HS6VXNG/
Now here are some optional things you can get
A 5V 40 mm Fan like this for example https://www.amazon.com/WINSINN-Bearings-Brushless-Cooling-40mm10mm/dp/B08R9JJDYP/
Then a Speaker for the case something like this
https://www.amazon.com/Gikfun-Speaker-Stereo-Loudspeaker-Arduino/dp/B01LN8ONG4/
You will also need Extra parts to get this to work with a Pi Zero and the PI 4 as well.
For Printer settings I did this in .2 and then printed the front in .12 for quality
15% infill is fine with 100% infill around the Threaded insert holes.
The assembly is fairly easy. The bottom case attaches to the front and the front and bottom then attach to the back case.