Starlink Flat Mount Socket for Rectangular Dishy


Printable files (7)
-
 stl
stlRight_Middle_Starlink_G3_UT_Flat_Mount.STL
58 Ko · 6 263 downloads
-
 stl
stlLeft_Middle_Starlink_G3_UT_Flat_Mount.STL
58 Ko · 6 073 downloads
-
 stl
stlLeft_Rear_Starlink_G3_UT_Flat_Mount.STL
191 Ko · 6 076 downloads
-
 stl
stlRight_Rear_Starlink_G3_UT_Flat_Mount.STL
119 Ko · 6 016 downloads
-
 stl
stlRight_Front_Starlink_G3_UT_Flat_Mount.STL
126 Ko · 6 020 downloads
-
 stl
stlLeft_Front_Starlink_G3_UT_Flat_Mount.STL
127 Ko · 6 031 downloads
-
 stl
stlStarlink_G3_UT_Flat_Mount_Complete.STL
688 Ko · 5 649 downloads
Description
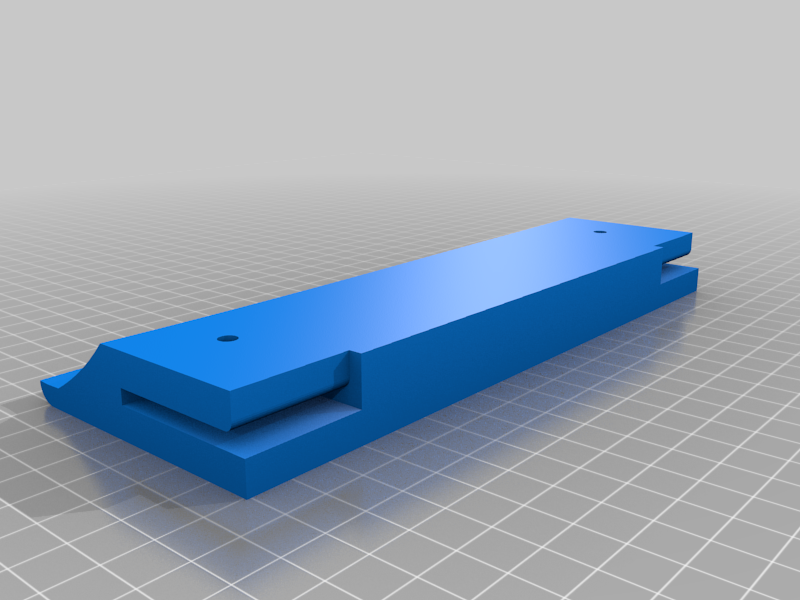
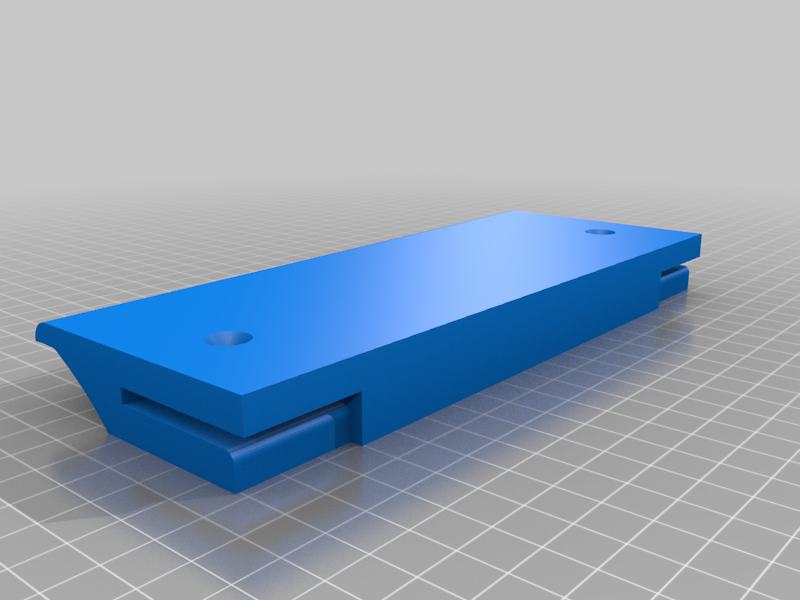
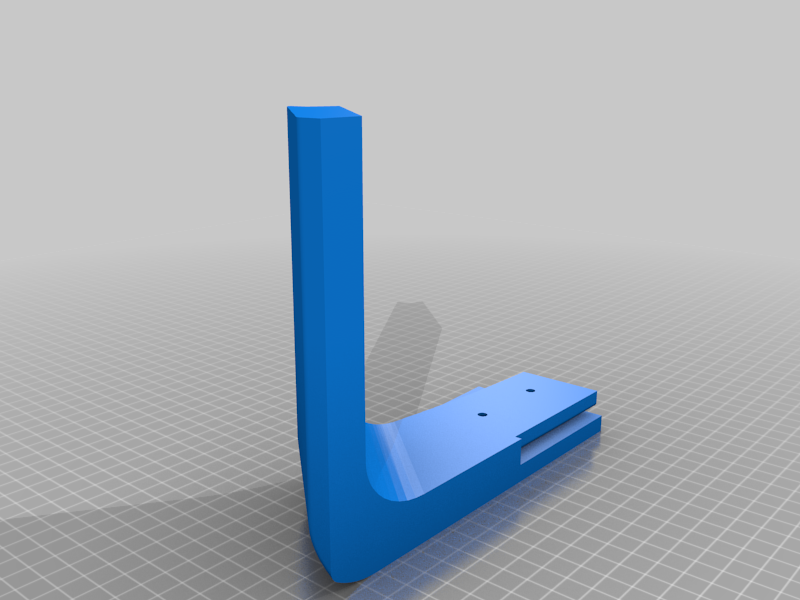
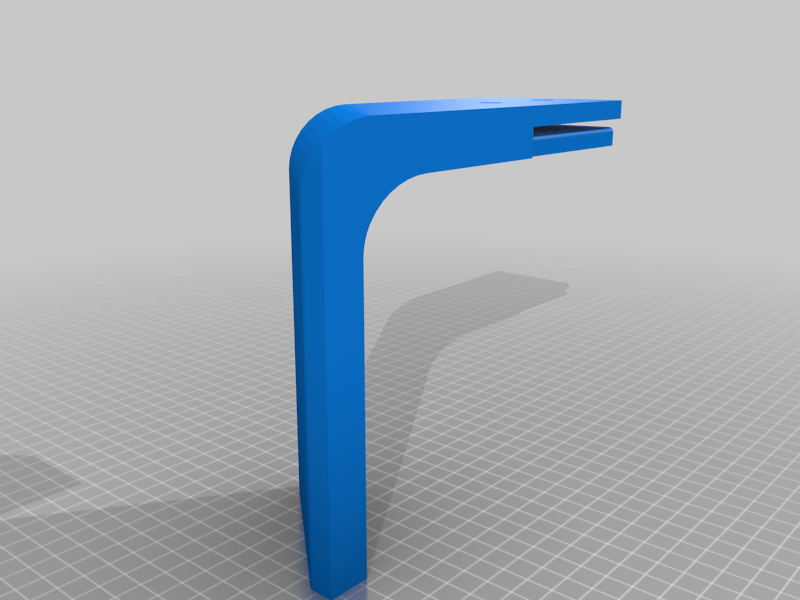
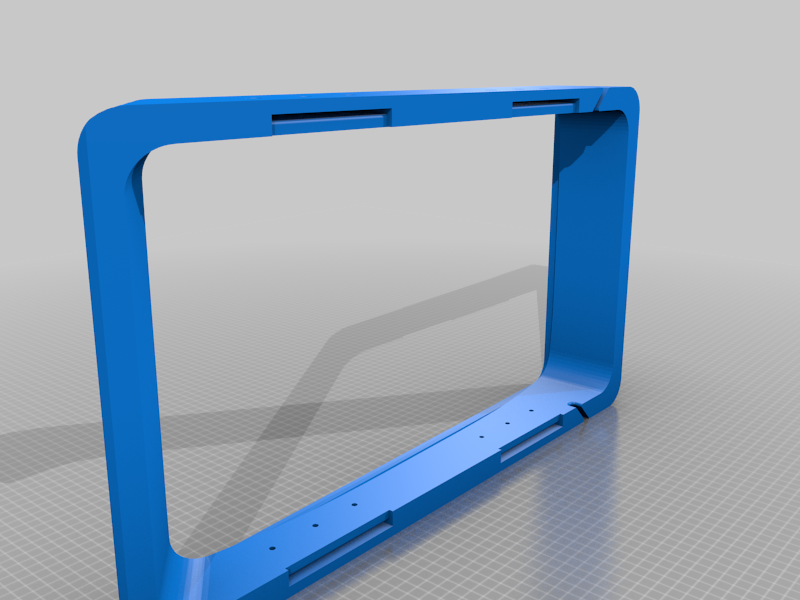
My DIY Flat Mount Socket for Starlink G3 UT rectangular dish.
Edit: I added a complete model for those who can print this in one piece - Although I wouldn't recommend it.
Going on our 5th year of full-time travel through Central America and now into South America, we are moving every few days, and setting up the Starlink Dishy every night was beginning to be a pain,
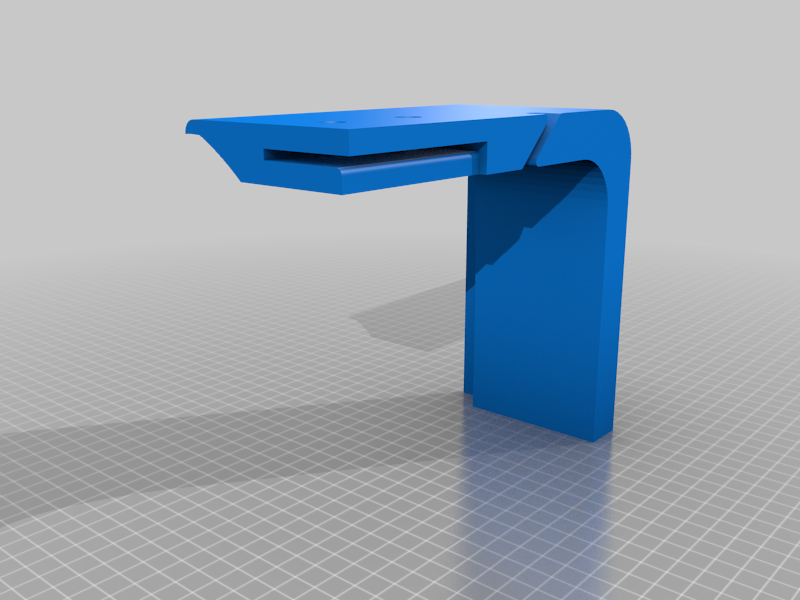
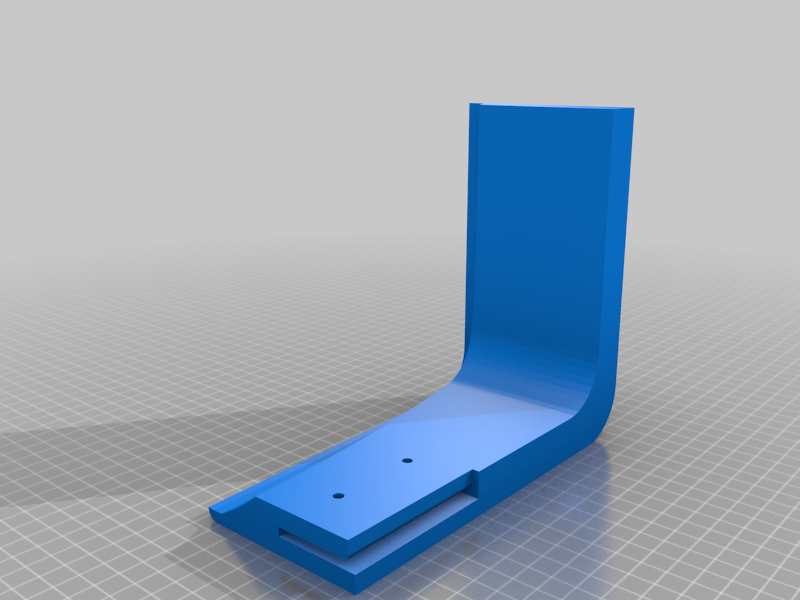
So I designed this mount to cradle the Starlink Dish and mount it semi-permanently to the roof of our camper. This design does not require you to breach into the sealed antenna compartment, instead, you only remove the motor section. Far less risky in my opinion, especially on your knees on the side of the road, with a side grinder.
Video showing why, where, and how I designed it, as well as the installation, can be seen here: https://youtu.be/gRSnTMrUPrQ
I printed mine with PETG, but I would instead have used ABS if I could have. Then it could be vapor smoothed and welded with acetone.
6 walls and 20% infill seems pretty strong. All parts are printed upright as they would be on the rooftop. Only a small amount of support where the Aluminum cutout is.
The mount requires 4 lengths of 1.5 inch angle aluminum, 1/8th inch thick, and 12 M3 Flat Head Screws.
A perfect companion to the Dishy DC mobile power supply and case:
https://www.thingiverse.com/thing:5893999