MicroCube X (MicroCube / HyperCube Evolution Crossover)
 por peter47_a


Archivos imprimibles (30)
-
 3mf
3mfxyzCalibration_cube.3mf
39 Ko · 184 descargas
-
stl
Buildplate_Holder.stl
144 Ko · 226 descargas
-
stl
Buildplate_Platform.stl
174 Ko · 230 descargas
-
stl
Buildplate_ThumbWheel_M3.stl
794 Ko · 224 descargas
-
stl
Carriage_Belt_Clamp_1.0.stl
112 Ko · 203 descargas
-
stl
Carriage_Belt_Tensioner_1.0.stl
69 Ko · 203 descargas
-
stl
Carriage_Hotend_Mount_Clamp.stl
84 Ko · 233 descargas
-
 stl
stlCarriage_Hotend_Mount_Fanshroud.stl
69 Ko · 206 descargas
-
stl
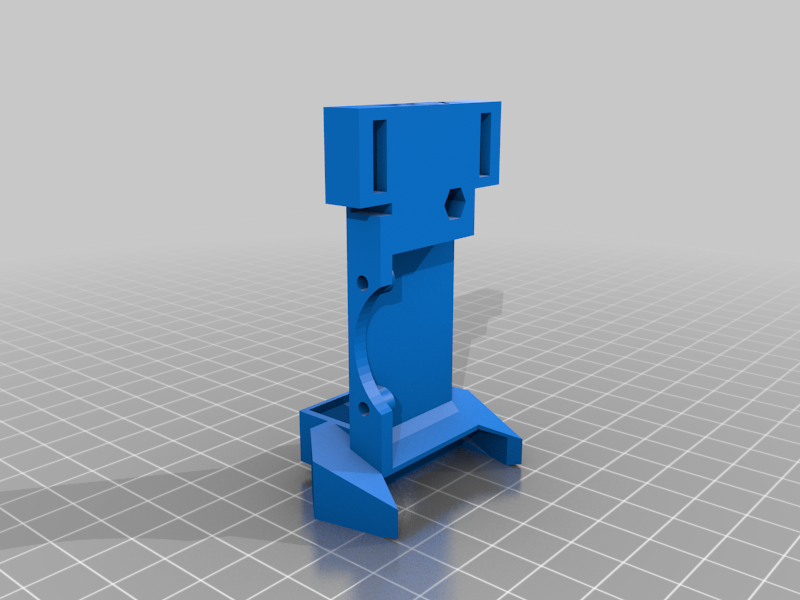
Carriage_X_with_Endstop.stl
352 Ko · 241 descargas
-
stl
Carriage_Y.stl
1.8 Mo · 245 descargas
-
 stl
stlCarriage_Y_Clamp.stl
193 Ko · 157 descargas
-
stl
Electronics_LCD_Holder_Bottom.STL
18 Ko · 190 descargas
-
stl
Electronics_LCD_Holder_Side.STL
20 Ko · 189 descargas
-
stl
Electronics_MKS_Gen_L_holder.stl
275 Ko · 223 descargas
-
stl
MKS_Gen_L_Case.stl
84 Ko · 29 descargas
-
stl
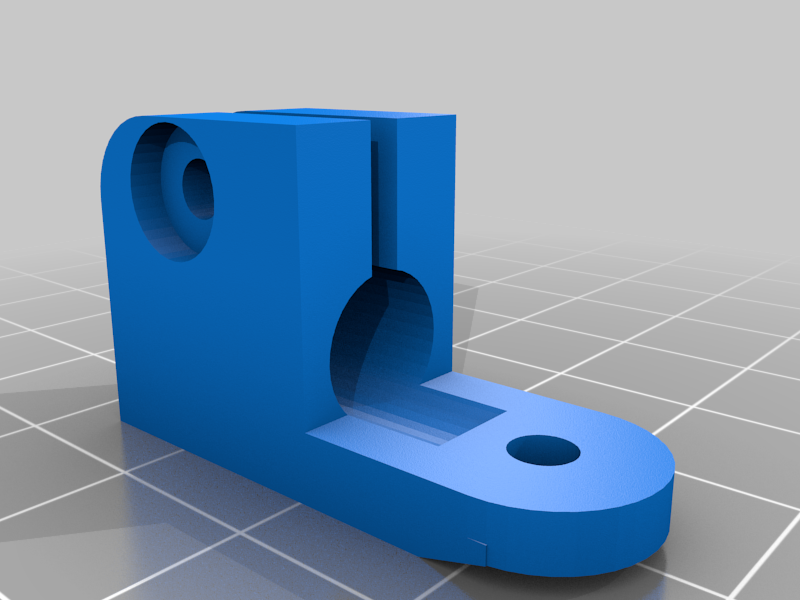
Endstop_Y_Part1.stl
24 Ko · 229 descargas
-
stl
Endstop_Y_Part2.stl
45 Ko · 228 descargas
-
stl
Endstop_Z.stl
38 Ko · 226 descargas
-
stl
Frame_Corner_Bottom_print_4x.stl
78 Ko · 229 descargas
-
 stl
stlFrame_Corner_Stabilizer.stl
156 Ko · 171 descargas
-
stl
Frame_Corner_Top_Idler_Left.stl
308 Ko · 237 descargas
-
stl
Frame_Corner_Top_Idler_Right.stl
306 Ko · 231 descargas
-
stl
Frame_Corner_Top_Idler_Separator.stl
70 Ko · 227 descargas
-
stl
Frame_Corner_Top_Motor_Mount_Left.stl
115 Ko · 243 descargas
-
stl
Frame_Corner_Top_Motor_Mount_Right.stl
115 Ko · 231 descargas
-
stl
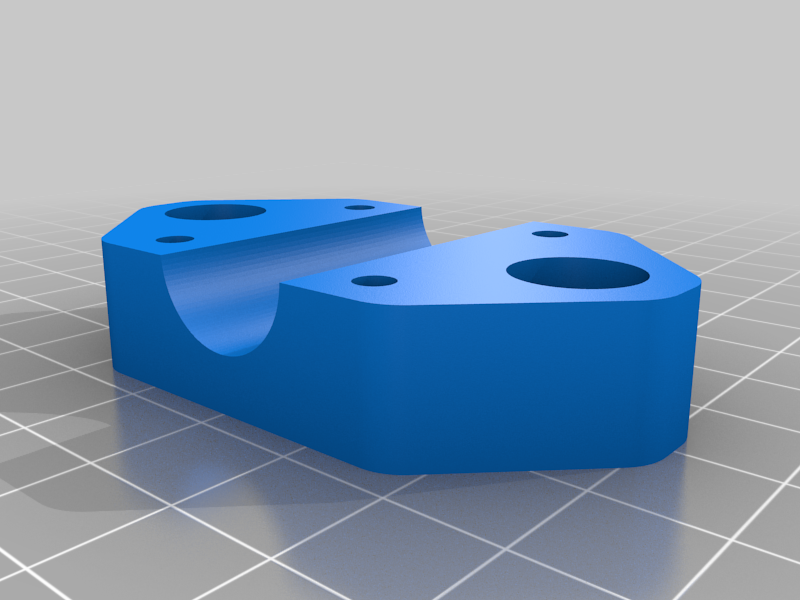
Frame_Z_Axis_Motor_Mount_Part1.stl
160 Ko · 232 descargas
-
stl
Frame_Z_Axis_Motor_Mount_Part2.stl
125 Ko · 231 descargas
-
stl
Frame_Z_Axis_Top_Part1.stl
88 Ko · 226 descargas
-
stl
Frame_Z_Axis_Top_Part2_standard_extruder.stl
168 Ko · 231 descargas
-
stl
Frame_Z_Axis_Top_Part2_voron_mobius_extruder.stl
150 Ko · 230 descargas
Descripción
MCX?
I really love the simple design of the MicroCube and I was looking for a more relieable movement system. I found the HyperCube Evolution to be a loved and very successful design, so I tried to get the best of both worlds. This printer is an evolution of the original prototype and prints a lot more reliable and cleaner. You can see it in action here https://youtu.be/z_v5L1m4204
Updates
2024/04 added cases for the electronics and the display
General
Speed and vibrations have still to be considered with the rods compared to an extrusion based frame. It is possible to print with around 50 mm/s, you can of course try higher values and tweak the build. The usable print area for my build is 84x88x110mm. Smooth Rod Lengths for this version are as follows:
X: 240mm
Y: 210mm
Z: 270mm
X-Carriage: 245mm
Diagonal Stabilizer Rods: 300mm
How to build?
I mostly used the 8mm rods, T8 leadscrew and bearings from my Wanhao Duplicator i3 mini (rest in peace...) for the hardware and Nema17 motors. Also using TMC2208 drivers in standalone mode on a MKS Gen L 1.0 board. You can also use A4988 drivers with a Ramps 1.4 sandwich, have a look at the original MicroCube (https://www.thingiverse.com/thing:1938877) for a mount.
I'm also using the Mech Endstop 1.2 designed by MakerBot for all 3 axis and designed mounts for all of them. Everything is held together by M3 screws of various lengths. The hotend is a cheap chinese 12V E3D V6 clone and it can be used with a standard metal bowden extruder or a Voron Mobius.
The machine is using a removable, non-heated 100x100x3 mm mirror glass tile as printbed with a BuildTak sheet attached. It is based on my earlier designs and works fine for such a small machine. Details can be found here https://www.thingiverse.com/thing:3483100
I don't plan to write a build guide, this is basically a MicroCube with some parts borrowed and customized from the HyperCube Evolution - which both have excellent guides. I included the scad files for my own designs / modifications aswell as a copy of my configuration for the marlin firmware (1.1.9) and profiles for PrusaSlicer - just load the 3mf file to get printer configuration and print profile for PLA 0.2mm standard.
I would love to see someone improving this design or get inspired to build their own! Please feel free to write a comment if you have any questions, I tried to take pictures of all critical areas.