HyperCube printable interlocking Frame
 di jh1985


File stampabili (12)
-
 stl
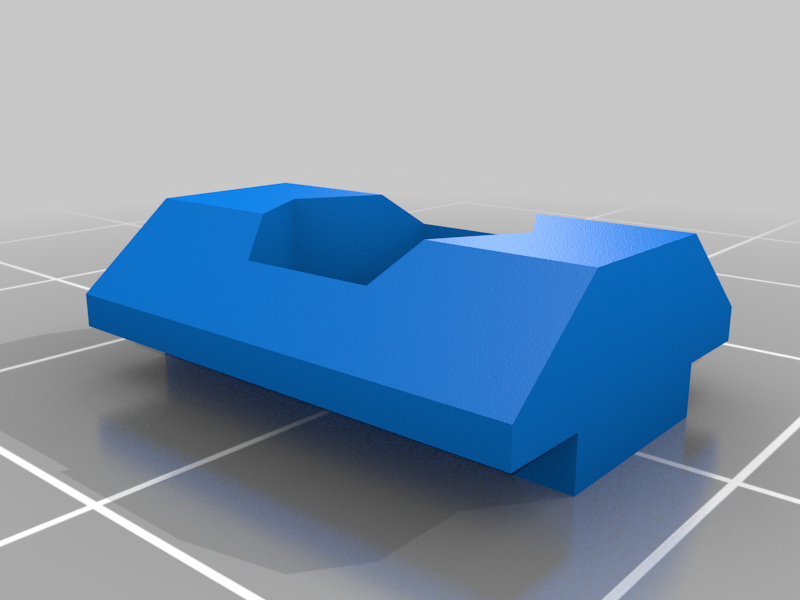
stlt_slot_nut.STL
18 Ko · 12 289 download
-
 stl
stlHyperCube_x_340mm.stl
32 Ko · 12 325 download
-
 stl
stl4_x_340mm_X.stl
128 Ko · 12 251 download
-
 stl
stl303mm_Y.stl
32 Ko · 12 191 download
-
 stl
stl4_x_303mm_Y.stl
127 Ko · 12 187 download
-
 stl
stl4_x_350mm_Z.stl
202 Ko · 12 257 download
-
 stl
stl1_x_350mm_Z.stl
51 Ko · 12 232 download
-
 stl
stl1_x_285mm_Bed.stl
32 Ko · 12 179 download
-
 stl
stl2_x_285mm_Bed.stl
64 Ko · 12 191 download
-
 stl
stl1_x_135mm_Bed.stl
13 Ko · 12 365 download
-
 stl
stl303mm_Y_middle.stl
19 Ko · 12 197 download
-
 stl
stlextender_2.stl
22 Ko · 12 224 download
Descrizione
Completely printable frame for Hypercube. As loing as you have 177mm height.
Based off tech2c recomended measurements.
*designed to print with my lasercut i3 with e3d x179 y190 z180
- Print with a 5 line or more brim.
-Print Settings
-use concentric infill unless printing solid. If solid use any pattern.
-0.3mm layer height or less. 0.3 used in the pictures
-55mm sec speed or less. Seems to get problems faster. Your printer may be different.
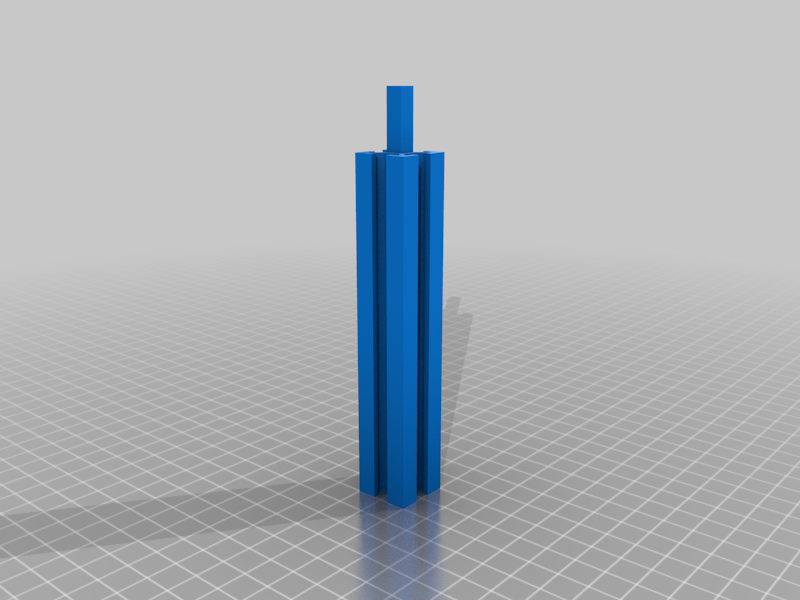
-Best way to attach together so far wIth PLA- Sand your z seam from the square pin so you have a nice fit. Make sure its flush before you glue. No gaps.
- Use CA or epoxy Very lightly. Press firmly together.
- Fuse or melt using a heat gun at 350 deg. I use a fine tip so i only melt a small amount. Place part on a flat surface lke your build plate. Heat the joints one side at a time rotate the bar each time while also pushing together. Make sure not to push to hard and cause a bulge. Use the flat surface to keep them strait.
(I found using this method the print fails from layers breaking rather than the joint. - If using Abs I would use acetone to melt them together. Or the same as above.*
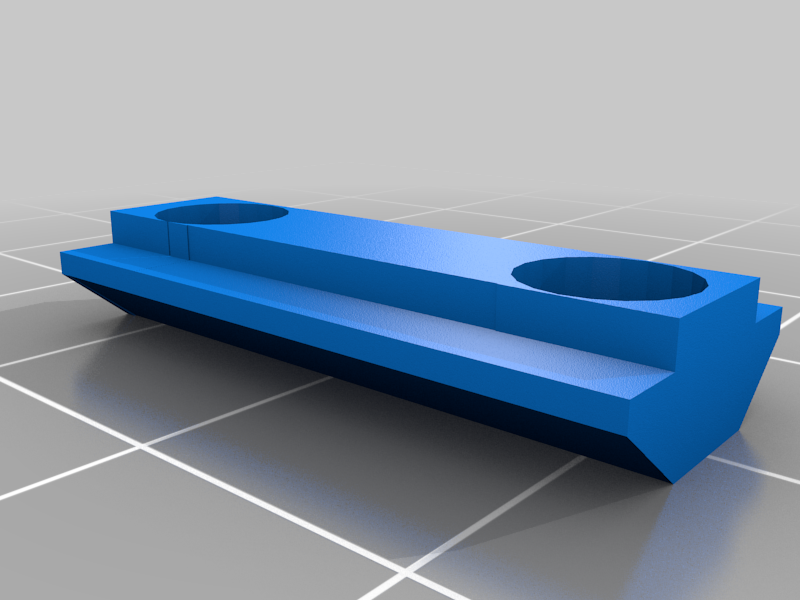
- Add 2 to 4 extenders Drill necessary holes and bolt. If using cap head bolts they will sit flush with the outer frame when fully screwed in.
- What Didn't work well. I tried strait ca and strait epoxy but found both joints fail by the center pin breaking. and the glue joint failing.
You may have to sand the male part to fit depending on your printers tolerances. I had 2 that were perfect and one that needed sanding.
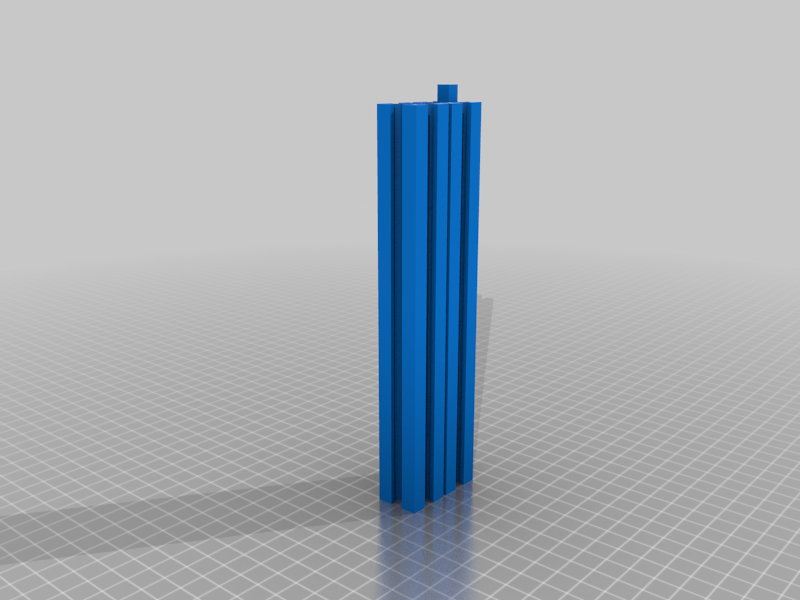
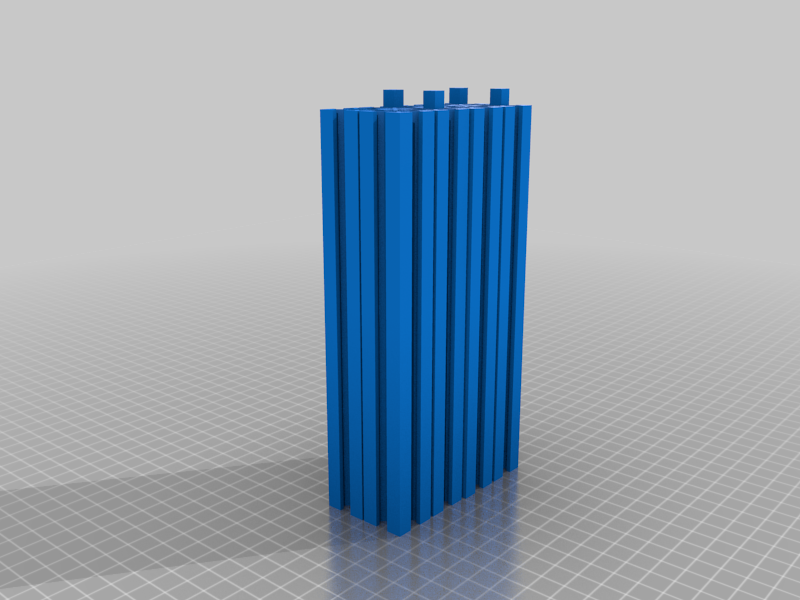
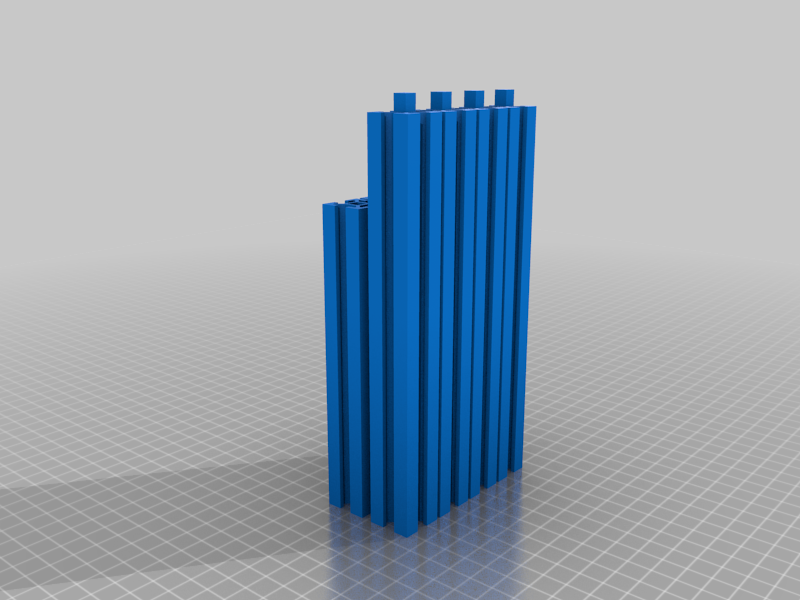
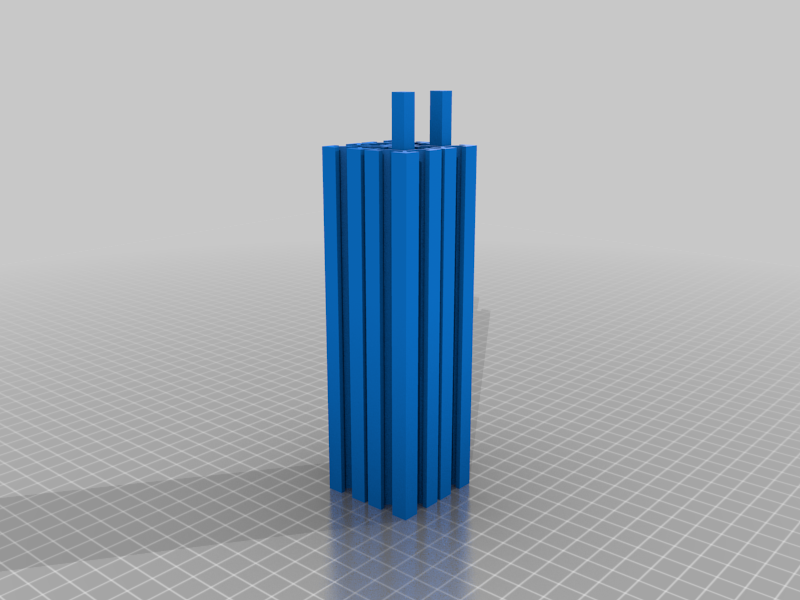
My first print of all the x at once.
12hr 49 min print time 60 mm/sec pla on (4_x_340mm_X.stl)
Not sure whats faster on at a time or together.
-Check out these link for m3 tslot nut holders.
http://www.thingiverse.com/thing:10261
http://www.thingiverse.com/thing:13599
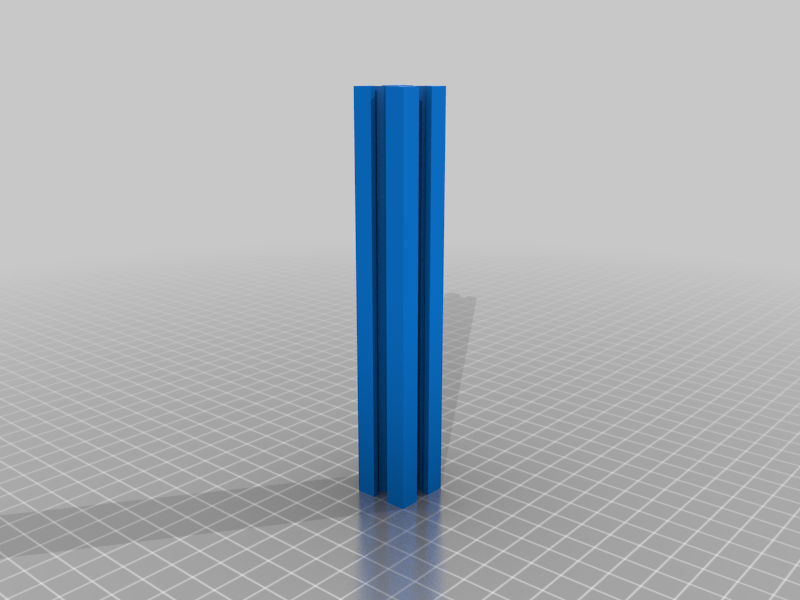
Frame Size
T-Slot 2020 Aluminium Extrusion Profiles for X200 x Y200 x Z155 print bed area
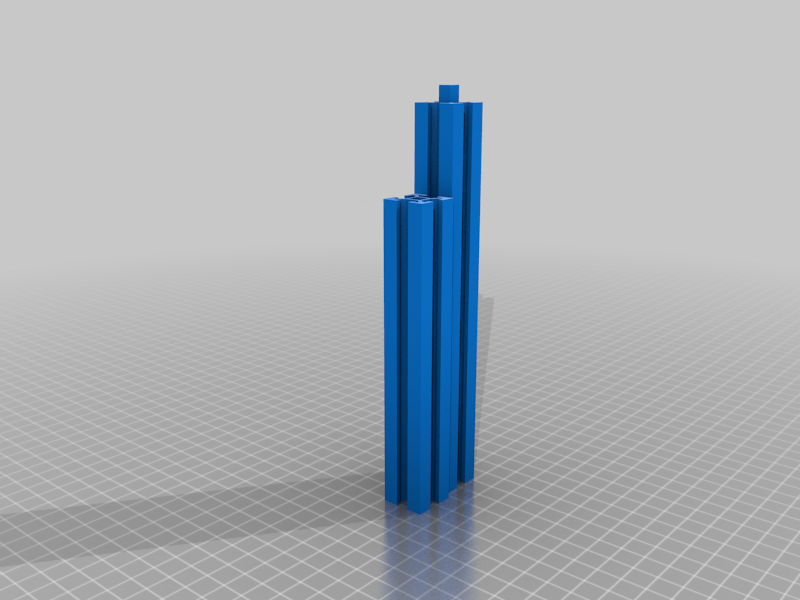
4 x 340mm (X)
4 x 303mm (Y)
4 x 350mm (Z)
2 x 285mm (Bed)
1 x 135mm (Bed)