Additions and modifications for HyperCube Evolution


File stampabili (25)
-
 stl
stlIndicator_Mount_1.0.stl
179 Ko · 10 663 download
-
 stl
stlIndicator_Clamp_1.0.stl
116 Ko · 10 645 download
-
 stl
stlE3D_TA_X_Carriage_1.0.stl
824 Ko · 10 737 download
-
 stl
stlE3D_TA_Fan_Duct_Mount_1.0.stl
174 Ko · 10 616 download
-
 stl
stlE3D_TA_Fan_Duct_1.0.stl
310 Ko · 10 633 download
-
 stl
stlE3D_TA_Fan_Duct_1.0_B.stl
60 Ko · 10 587 download
-
 stl
stlE3D_TA_Fan_Duct_1.0_C.stl
101 Ko · 10 579 download
-
 stl
stlE3D_TA_Fan_Duct_1.0_A.stl
251 Ko · 10 577 download
-
 stl
stlE3D_TA_Mount_1.0.stl
299 Ko · 10 638 download
-
 stl
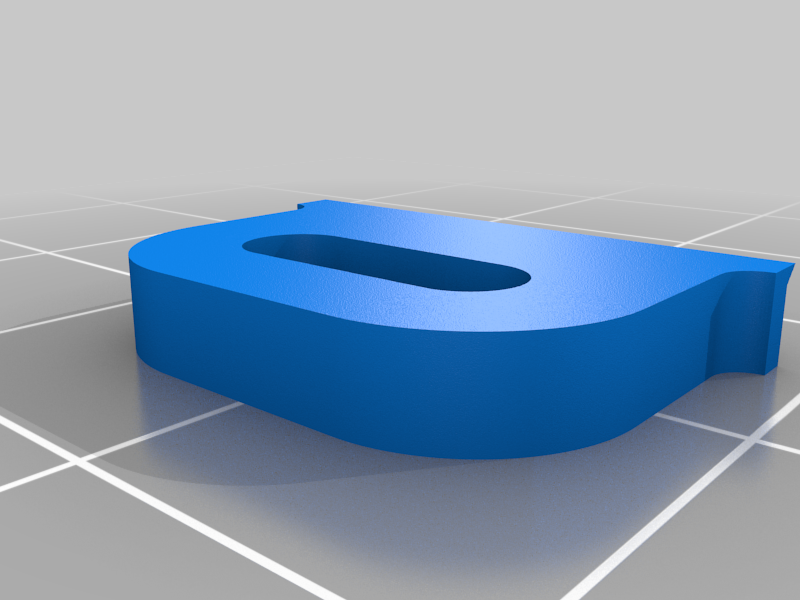
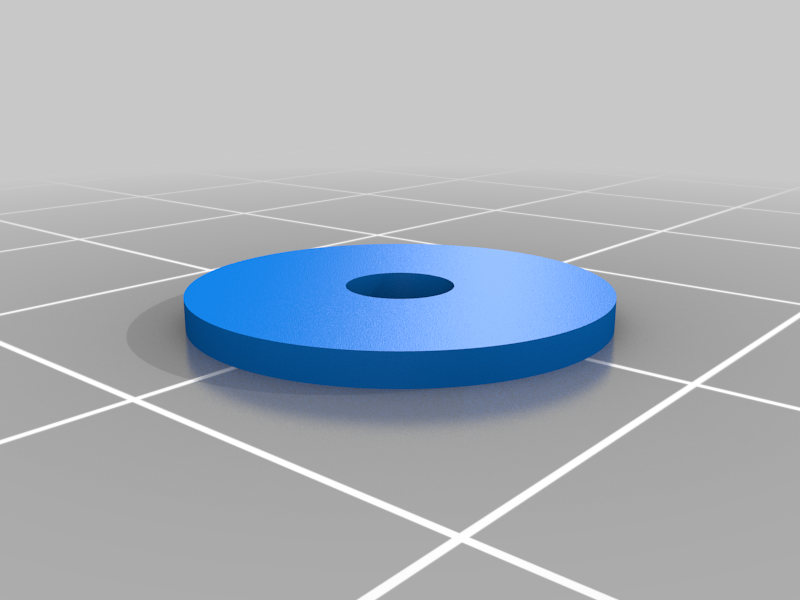
stlE3D_TA_Fan_Duct_Washer_1.0.stl
55 Ko · 10 553 download
-
 stl
stlE3D_TA_Mount_IR_1.0.stl
315 Ko · 10 561 download
-
 stl
stlStep_Down_Module_Mount_1.1.stl
85 Ko · 10 494 download
-
 stl
stlIndicator_Mount_1.1.stl
186 Ko · 10 517 download
-
 stl
stlX_Indicator_Stop_1.0.stl
44 Ko · 10 491 download
-
 stl
stlSpool_Holder_Clamp_Bottom_1.0.stl
38 Ko · 10 490 download
-
 stl
stlSpool_Holder_Clamp_Top_1.0.stl
95 Ko · 10 482 download
-
 stl
stlTension_O_Matic_Belt_Clamp_A_1.0.stl
147 Ko · 10 472 download
-
 stl
stlTension_O_Matic_Clamp_B_1.0.stl
118 Ko · 10 472 download
-
 stl
stlTension_O_Matic_Clamp_A_1.0.stl
150 Ko · 10 466 download
-
 stl
stlTension_O_Matic_Plate_1.0.stl
230 Ko · 10 476 download
-
 stl
stlTension_O_Matic_Belt_Clamp_B_1.0.stl
428 Ko · 10 461 download
-
 stl
stlIndicator_Mount_Y_1.0.stl
186 Ko · 10 459 download
-
 stl
stlE3D_TA_Mount_IR_1.1.stl
344 Ko · 10 440 download
-
 stl
stlE3D_TA_Mount_IR_1.1.stl
344 Ko · 10 472 download
-
 stl
stlMini_T_Slot_Cover_1.0.stl
116 Ko · 8 918 download
Descrizione
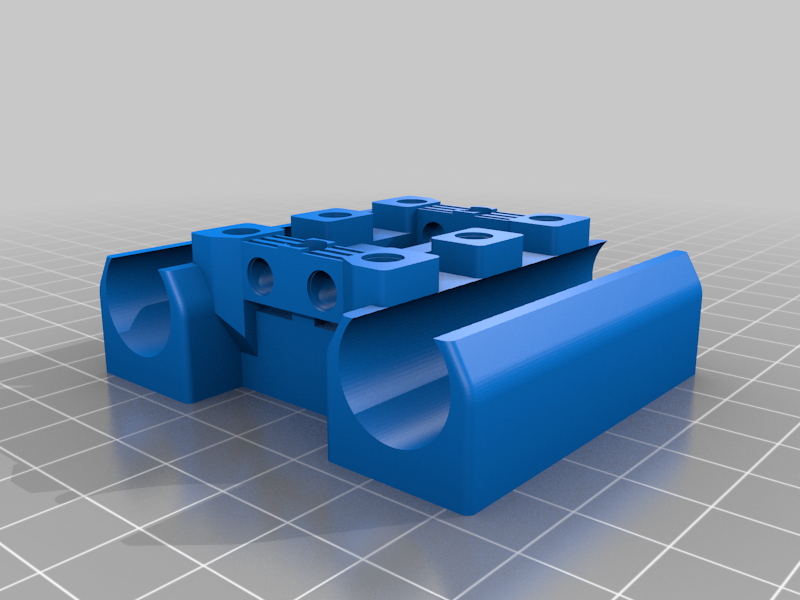
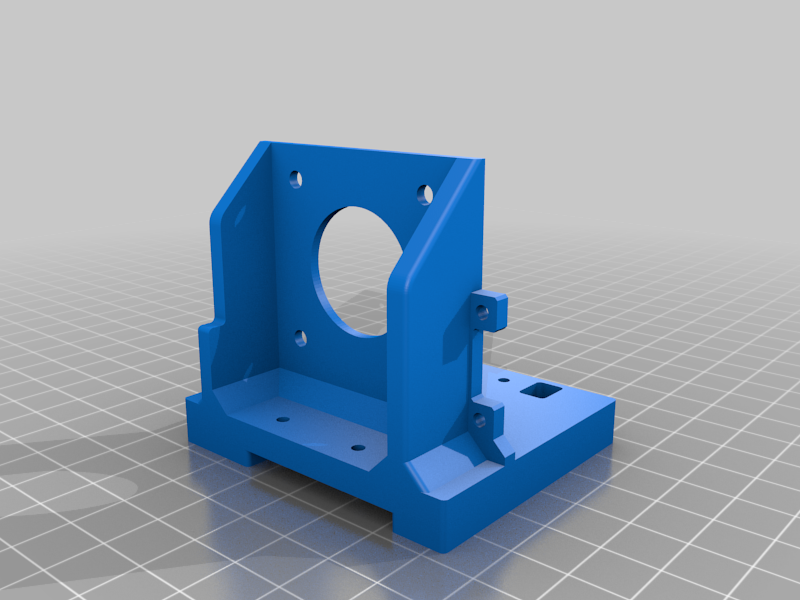
E3D Titan Aero mount
Using a Titan Aero adds width to the X assembly and reduces X travel compared to the standard design; the amount depends on the motor and fan used. With a 20.7mm motor and 7mm fan I am limited to 295mm of travel in X with approx 1.5mm clearance either side. My frame extrusions and shafts are based on 300x300x300mm in the configuration spreadsheet. That gives an idea of how much X travel to add for anyone planning to use this extruder.
Some examples:
20.7mm motor, 10mm (stock) fan - add 3 + 5 = 8mm minimum (I would round that up to 10mm)
25mm motor, 10mm fan - add 3 + 4.3 + 5 = 12.3mm (or round up to 15mm)
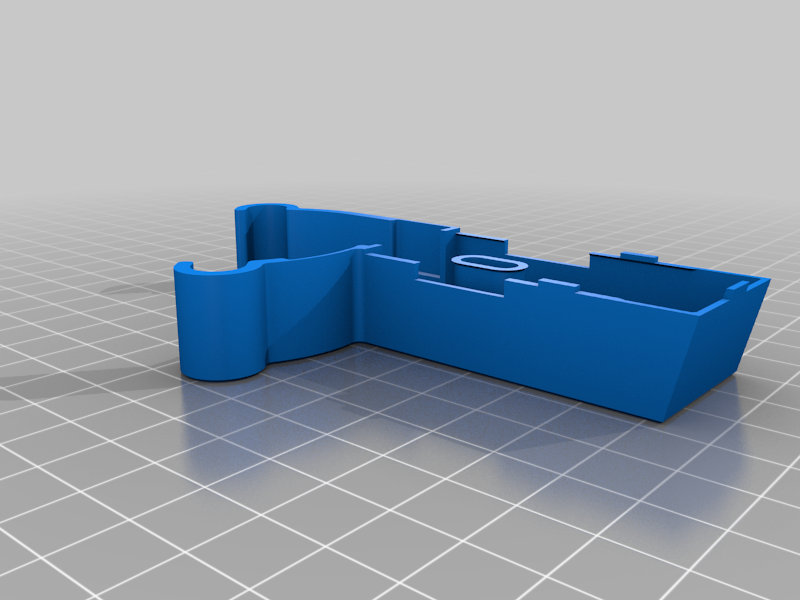
E3D_TA_X_Carriage
There are two additional bosses on the back side of the carriage for threaded inserts; these are used to mount the fan duct. If you don't need a part cooler, you don't need this modified X carriage.
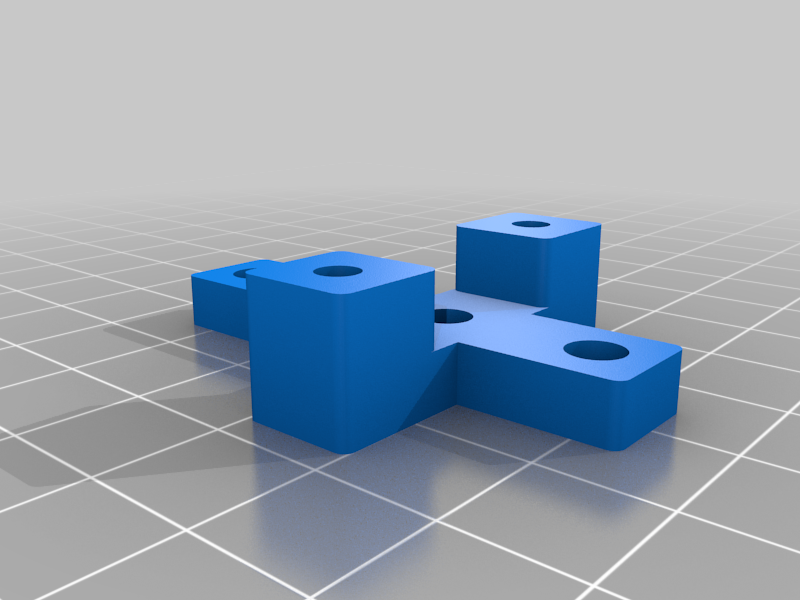
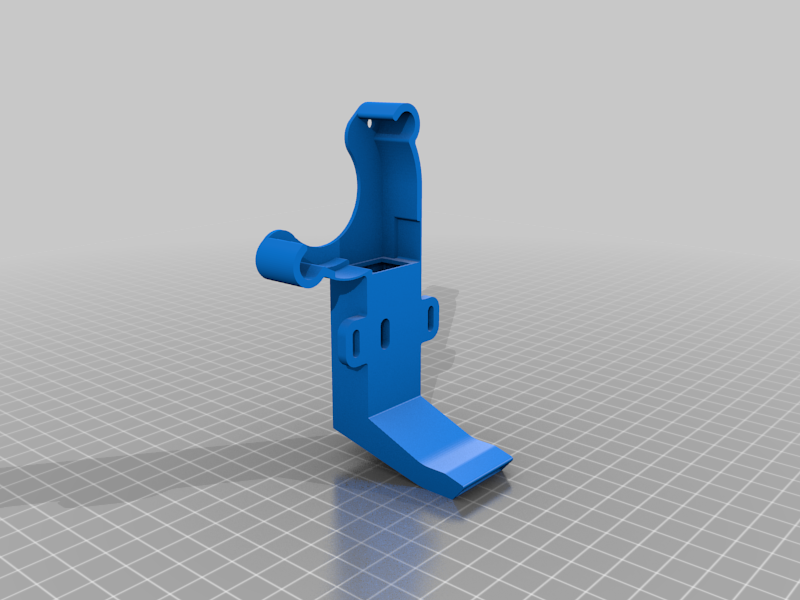
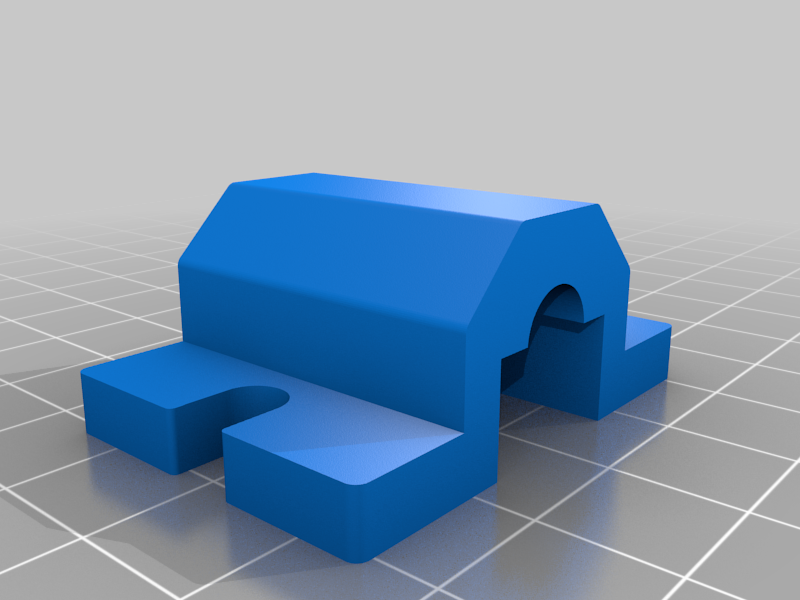
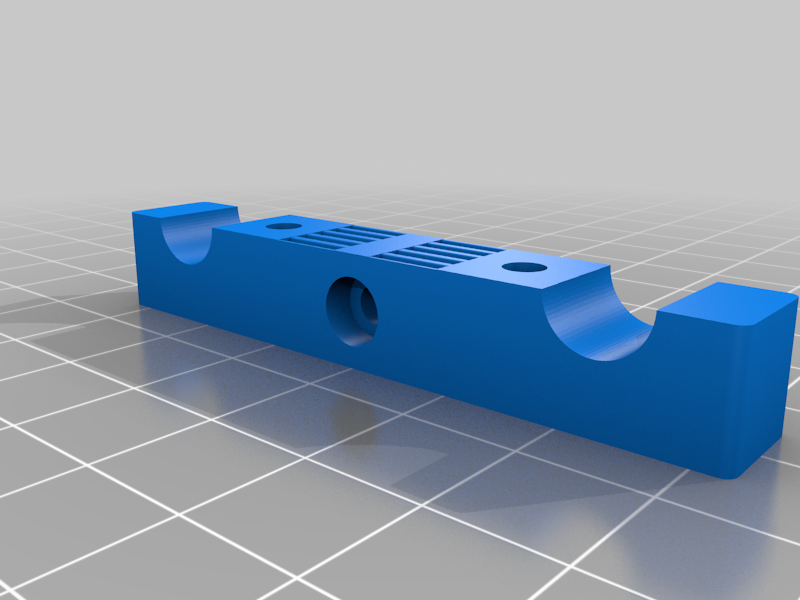
E3D_TA_Mount
E3D_TA_Mount_IR
I will be using the Mini Differential IR sensor (https://miscsolutions.wordpress.com/mini-height-sensor-board/) as a Z-probe. E3D_TA_Mount_IR includes the mounting holes for this.
Version 1.1 (E3D_TA_Mount_IR_1.1) adds cable support and removes the X max optical end stop.
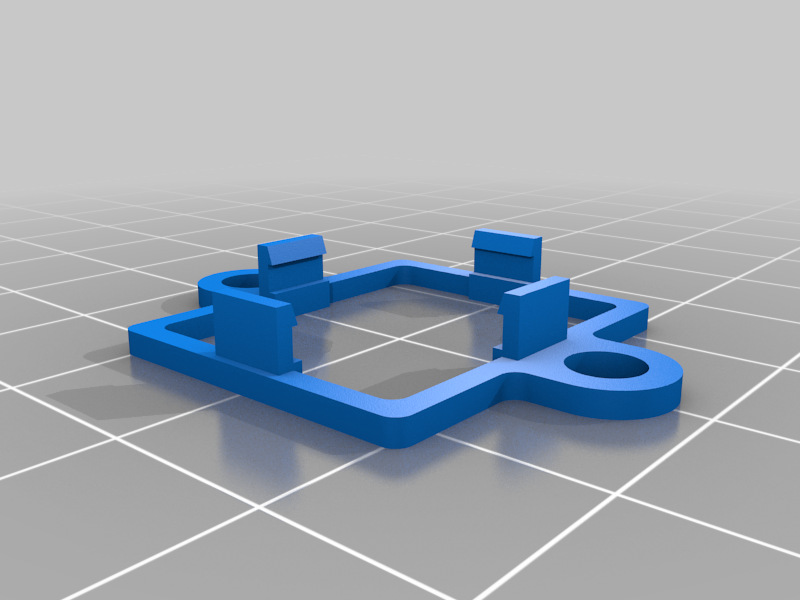
E3D_TA_Fan_Duct_Mount
Uses two more threaded inserts to mount the fan duct.
E3D_TA_Fan_Duct
I printed this in three parts then superglued them together. For now I have omitted the top fan screw because it can contact the back of the frame.
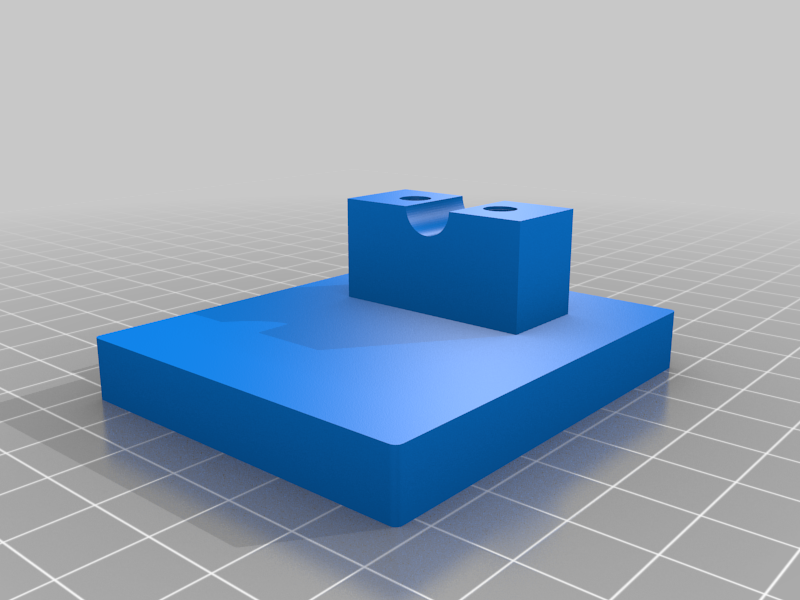
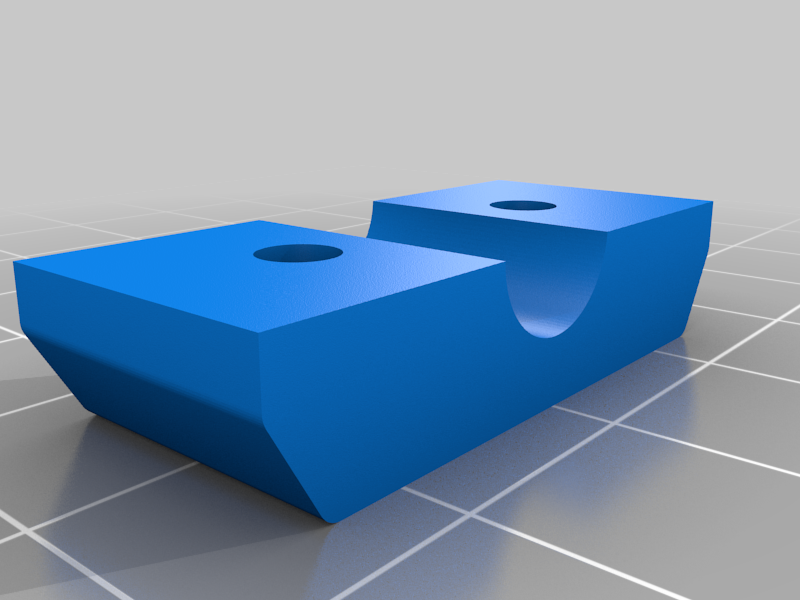
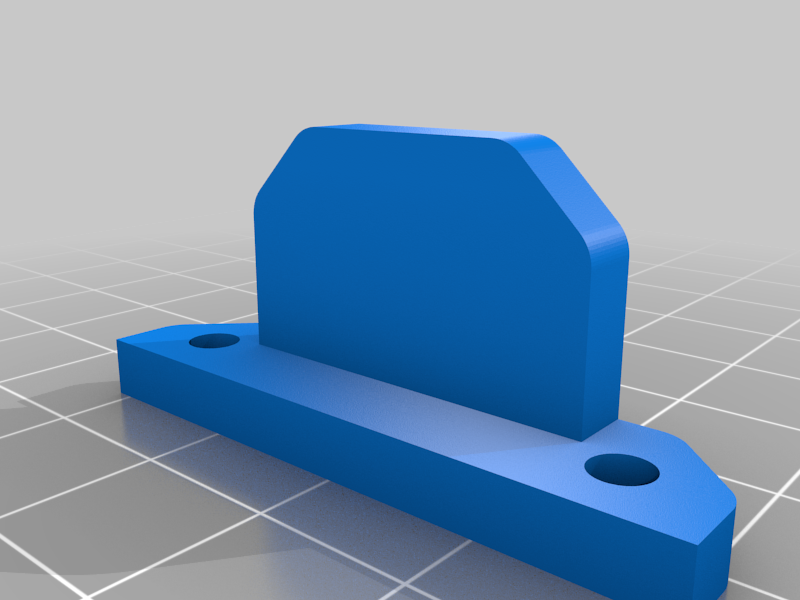
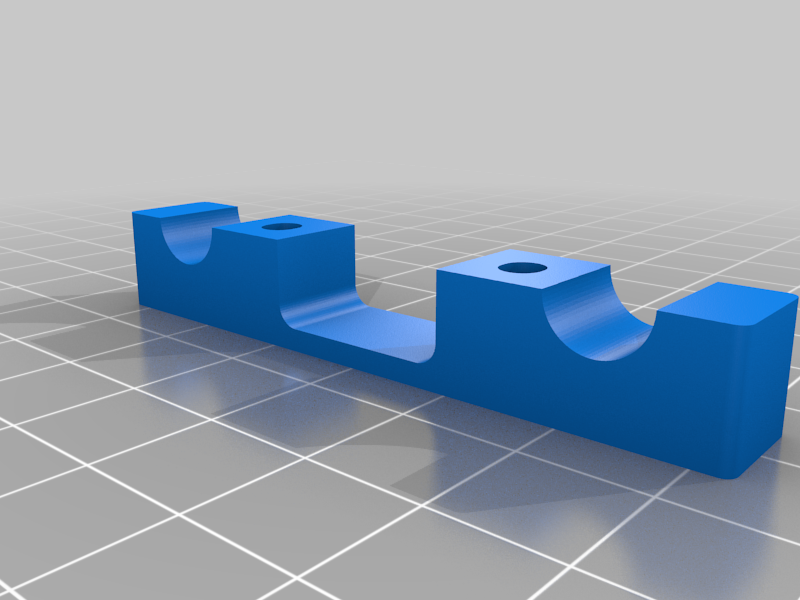
Indicator mount
https://www.youtube.com/watch?v=DO9Y43uxi5g
The mount and clamp work with an 8mm diameter stem as found on the Banggood digital indicator shown in the pictures.
Indicator_Mount_1.1 adds support for the back of the indicator to stop it moving when pressing the zero button. Might only fit this model of indicator.
Indicator_Mount_Y is for checking motion in the Y direction (against the front frame).
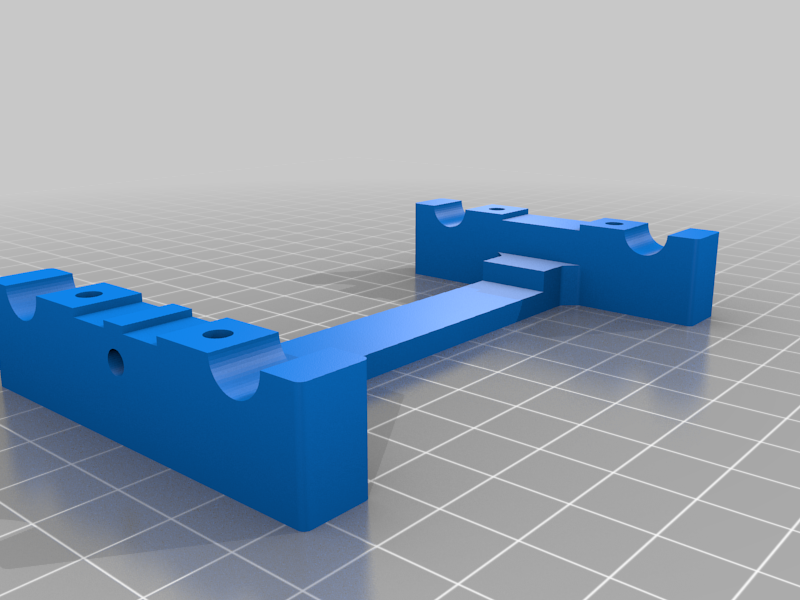
X_Indicator_Stop
The indicator mount can be rotated 90° (thanks to the square hole pattern SCOTT_3D uses for the dowel pins) in order to test and calibrate movement in the X direction. This end stop mounts (temporarily) on XY_Stepper_Mount; I used M3x12mm screws. As you lose the X end stops when removing the extruder mount, G92 X10 can be used once the X carriage is jogged into the start position, hopefully preventing crashes.
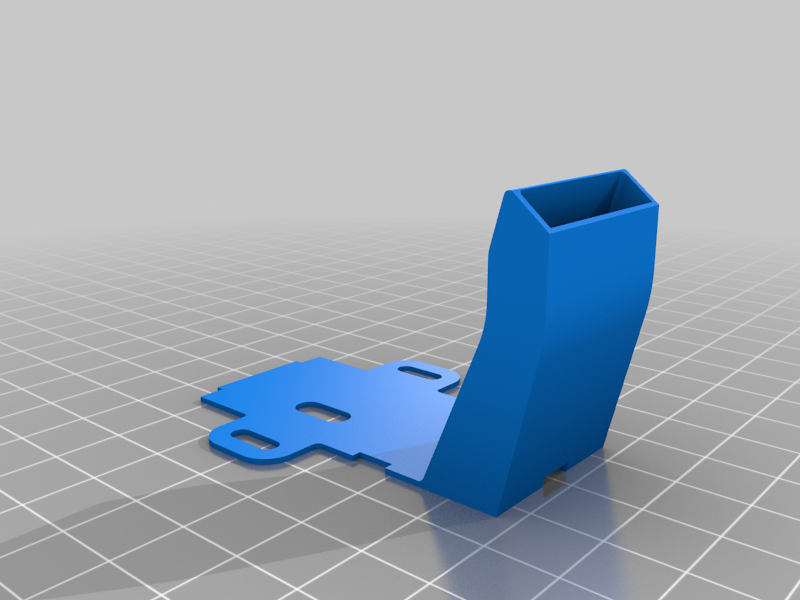
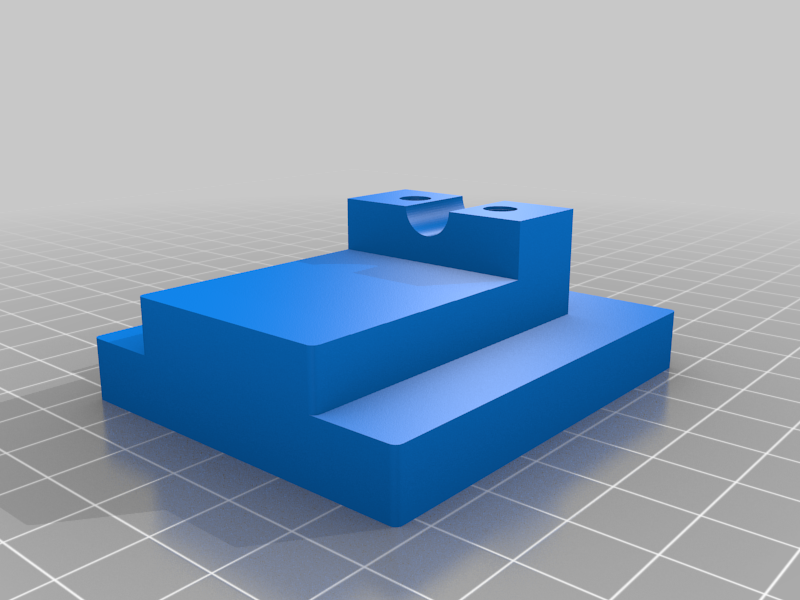
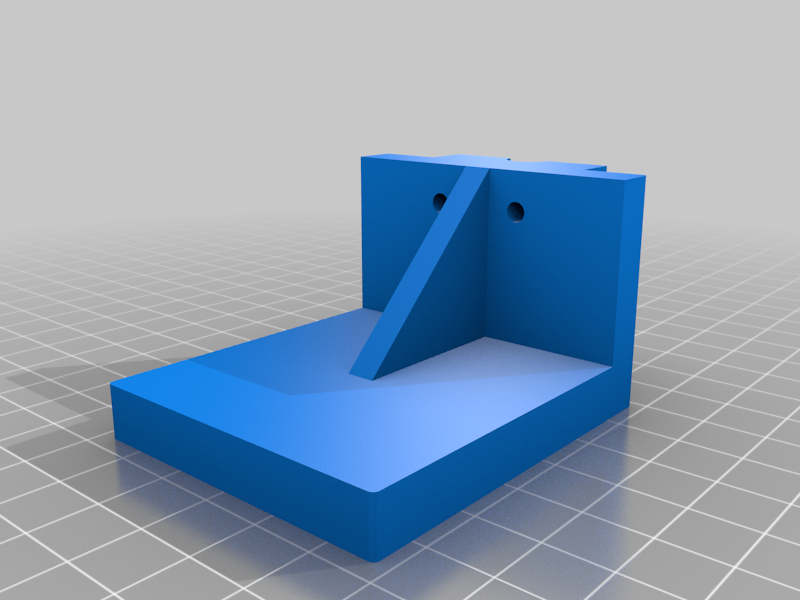
Step-down module mount
For mounting the e_goto 24 to 12V converters from SCOTT_3D's BOM (https://www.aliexpress.com/item/DC-DC-24V-18V-to-12V-3A-Step-Down-Module-MINI-Buck-Converter-Power-Supply-Circuit/32778770850.html?spm=2114.13010608.0.0.G2tjiK or https://www.aliexpress.com/item/DC-DC-Step-Down-Power-Supply-Buck-Converter-3A-Fixed-Output-14V-28V-to-12V/32636205942.html). 28mm hole spacing for M4 screws.
(Inspired by https://www.thingiverse.com/thing:875468).
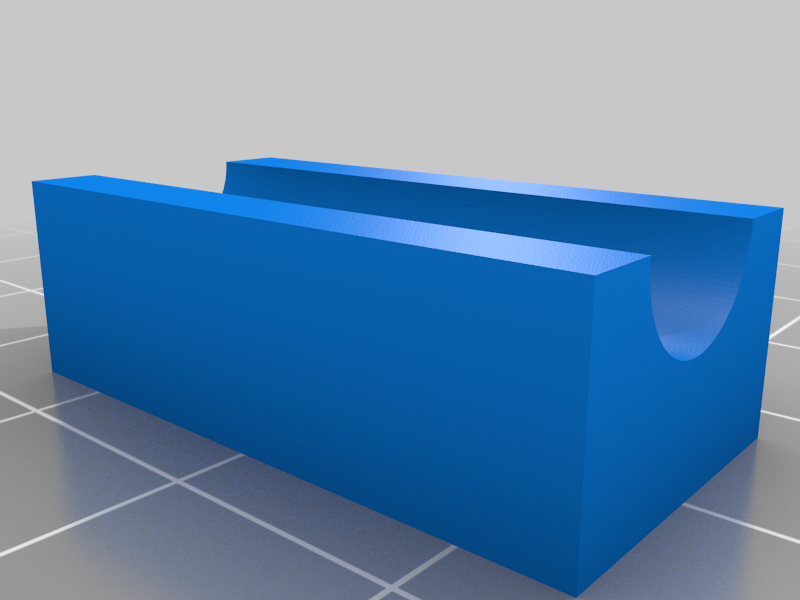
Spool_Holder_Clamp_Top/Bottom
I'm using this with a length of M8 threaded rod and
these https://www.thingiverse.com/thing:2532403 spool holders.
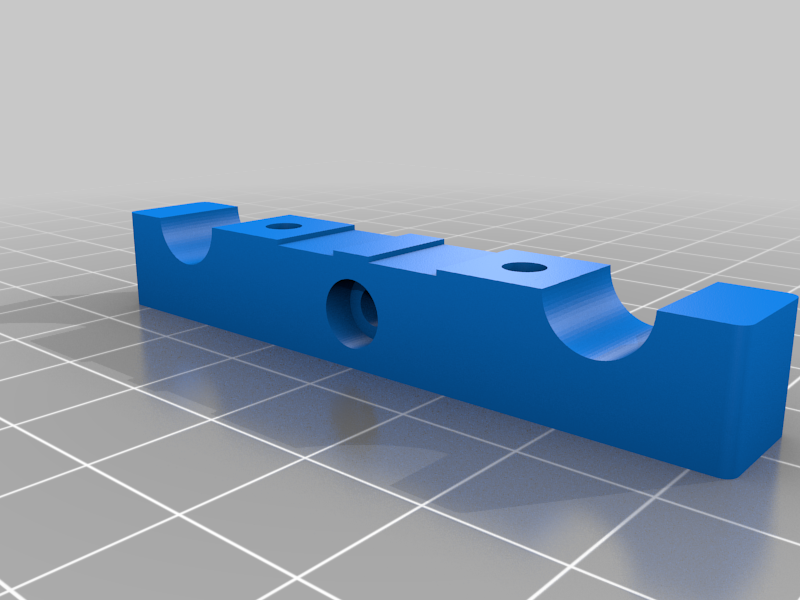
Tension_O_Matic
The screws on the X carriage are good for fine-tuning belt tension, as well as squaring the X/Y axes, but this tool should help with overall tension.
Currently for 8mm X-shafts, 45mm X-shaft spacing and 11mm belt spacing. 10mm shaft version (untried, untested) here https://www.dropbox.com/s/xpcaoxigcuwk47n/Tension_O_Matic_10mm_1.1.zip?dl=0.
Changes
03/09/2017 - Added Indicator_Mount_1.1
10/09/2017 - Added X_Indicator_Stop_1.0
13/09/2017 - Added Spool_Holder_Clamp_Top/Bottom_1.0
27/09/2017 - Added Tension_O_Matic
28/09/2017 - Added Indicator_Mount_Y_1.0
04/10/2017 - Added E3D_TA_Mount_IR_1.1