Tutorial: Printing multiple colors on a single layer


File stampabili (4)
Descrizione
- Edit 14/06/2019 : Uploaded 2nd version of Tuto for users of PrusaSlicer 2.0
- Edit 25/06/2019 : Uploaded new versions of both tutorials which clarify a potential problem
This is a Write-Up I have made to explain how to print multiple colors on a single layer without MMU . This works great for Texts on bottom layer of parts for example .
I have included my Write-Up in PDF format and two simple designs
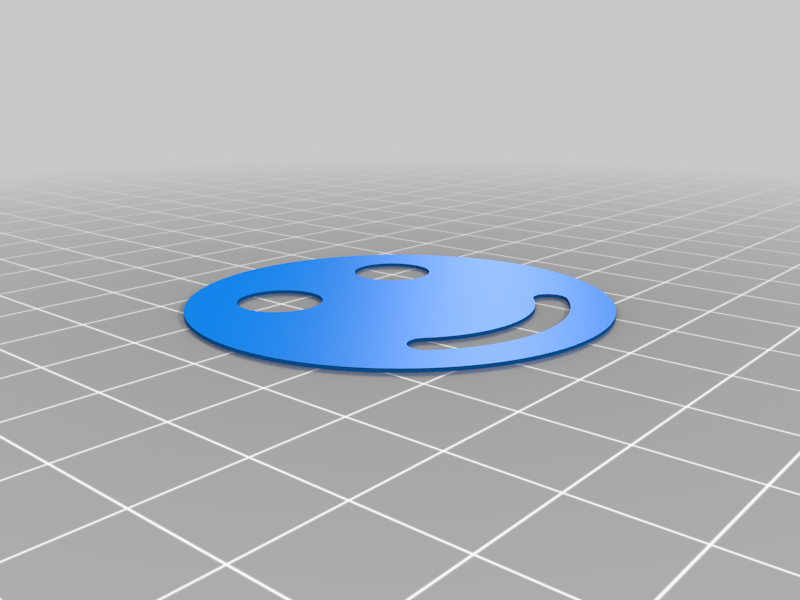
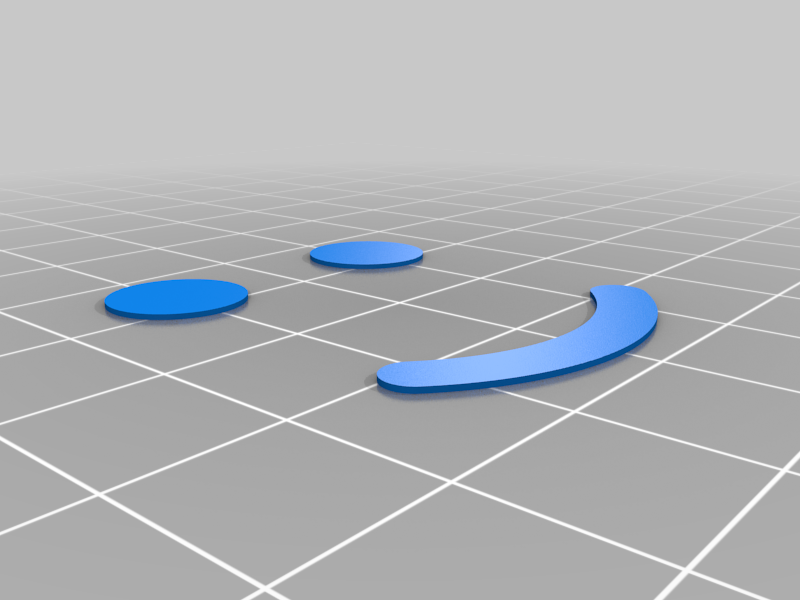
- 0.4mm thin smiley with color change on every layer
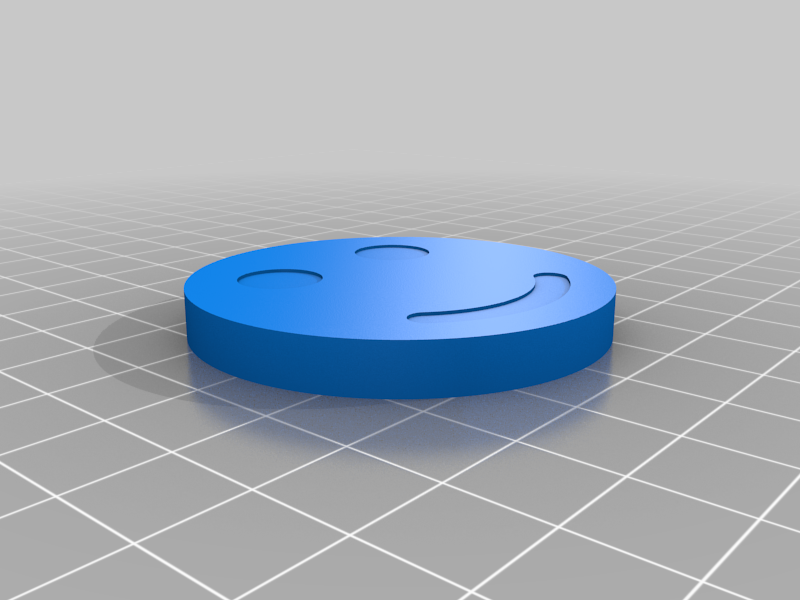
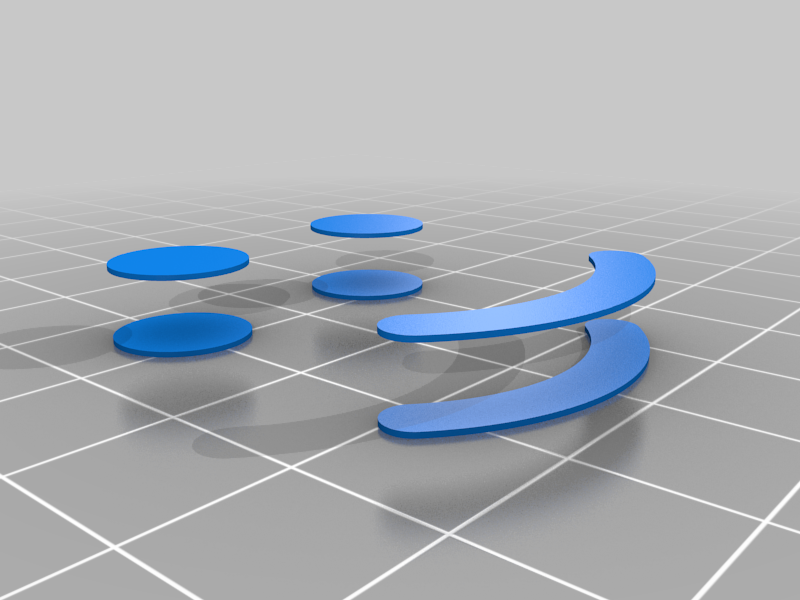
- 5.8mm thick smiley with color changes on the bottom and top two layers
Disclaimer : This Write-Up has been based on Slic3R Prusa Edition v1.41 and tested on a Prusa i3 MK2.5 . The procedure should work on every printer that supports the M600 command for color changes , but of course everything you do is at your own risk :)
Feel free to contact me if anything is unclear im my write-up, everything makes sense to me , but of course, I have written it :)
Here you will find
4 STL files : - 2 for the thin Smiley - 2 for the thick smiley2 AMF files , which always contain all parts and MY working settings.Two versions of the Write-Up in PDF format ..... - Version 1_1 is to be used if you use older versions of Slicer or Slicer PE - Version 2_1 is to be used if you use PrusaSlicer (v2.0 or above) **WARNING !!! The AMF files were made in Slic3r Prusa Edition v1.41.0 and contain MY printer settings, they work for me , but you may have to change or adapt .... It is probably best to use your settings !!
For another example where I used this technique , check out https://www.thingiverse.com/thing:3154293
Feel free to contact me here or in the "Prusa i3 Bear Upgrade" Facebook Group if you are unsure or have question , it's always better to ask a question then messing things up whilst doing Trial and Error :)
Have Fun !