Easy to program test tower


File stampabili (1)
-
 stl
stltest_tower.STL
714 Ko · 1 843 download
Descrizione
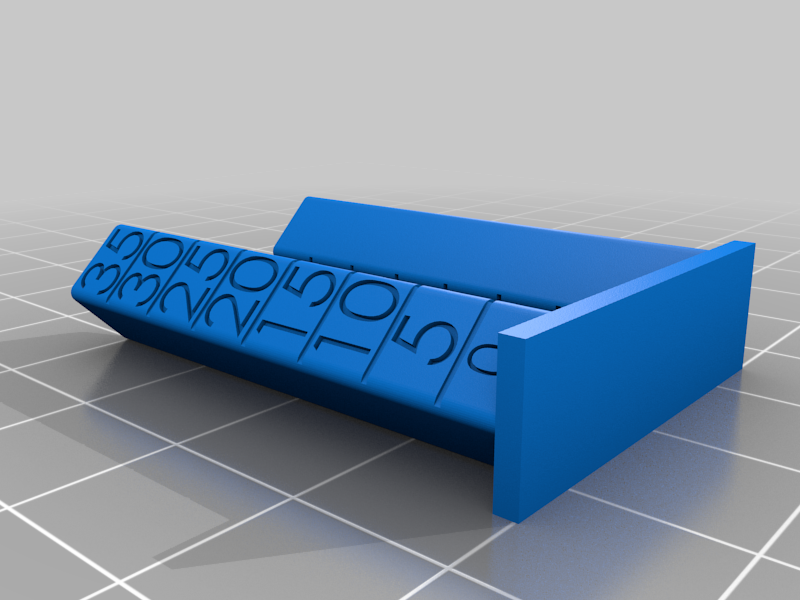
There are many great test towers out there, for stringing, for temperature, for overhangs, bridging.
This is a generic one with increments every 5 mms so its easier to program your slicer.
There are many factors which affect stringing and you can play with each individually with this.
This allows you to isolate a function and test it over 7 different increments.
So if you want to test stringing and retractions for example you would set your slicer to print with zero retractions for 0-5 mms, for 1 mm retraction for 5-10mm, with 2mm retraction for 10-15, and so on.
You can do this for wipe, coasting, retraction speed, fan, or any variable you like.
Do this for one function at a time to see the difference in any setting and dial in your best settings.
The easiest way to program your slicer in Simplify3D to have multiple processes is:
create basic process for the material you are going to use.
go to Tools > Variable Settings Wizard
in Variable Settings Wizard window type in 5 mm in Split Height Window, and hit Add Location, type in 10 and hit add location, type in 15 and hit Add Location, and so on up to 35, then confirm with Split Processes.
- Then in your main window under Processes (lower Left side) you will find all 8 processes, the top one would be 0-5 mm slice, the next the 5-10 mm.
Double click on each process and change the one function you want to play with, do this for each down the line.
** its a good idea to keep notes of your settings for each segment to check against after print - I have included a graph that you can print and keep track of your changes
- Hit Prepare to Print command and when a pop up window for Select Processes for Printing Pops up hit Select all and OK.
This will slice your model with a different setting for every 5 mms of height.
If you want to check any process for the start and stop height - just go to the advanced tab under that process and its in the upper left side of the window
I generally print this with one wall at 0.2 and with 10% infill.