Safebox with classic numeric code


File stampabili (13)
-
 stl
stlIntermediated_mark.STL
34 Ko · 368 download
-
 stl
stlSpacer.STL
78 Ko · 371 download
-
 stl
stlHinge.STL
43 Ko · 365 download
-
 stl
stlRetaining_ring.STL
66 Ko · 367 download
-
 stl
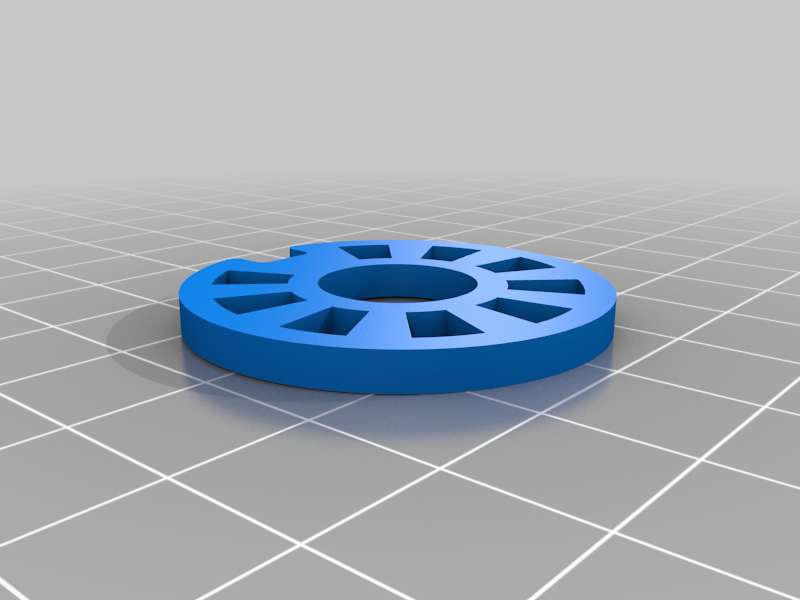
stlIntermediated_disk.STL
119 Ko · 371 download
-
 stl
stlFirst_final_mark.STL
40 Ko · 364 download
-
 stl
stlSelector.STL
306 Ko · 366 download
-
 stl
stlLatch.STL
621 Ko · 367 download
-
 stl
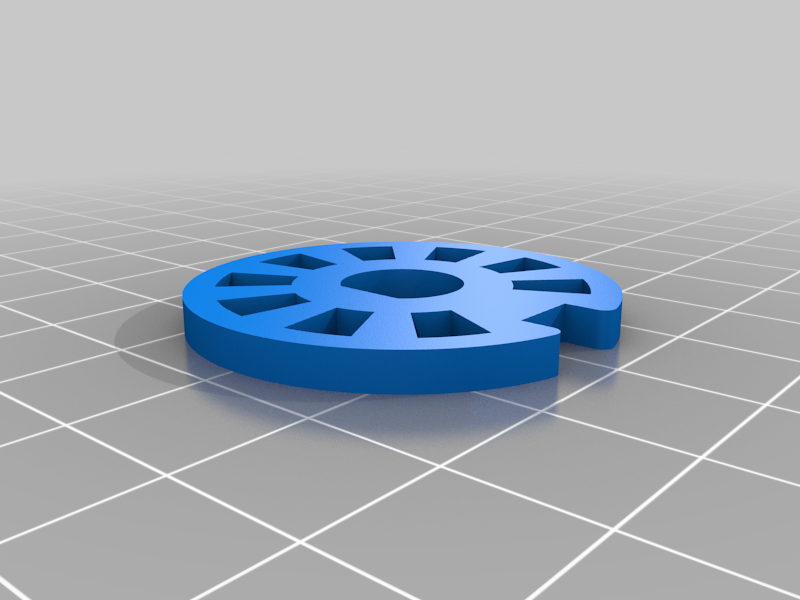
stlFinal_disk.STL
110 Ko · 365 download
-
stl
Box_small.STL
236 Ko · 375 download
-
stl
Box_big.STL
211 Ko · 377 download
-
 stl
stlDoor.STL
813 Ko · 368 download
-
 stl
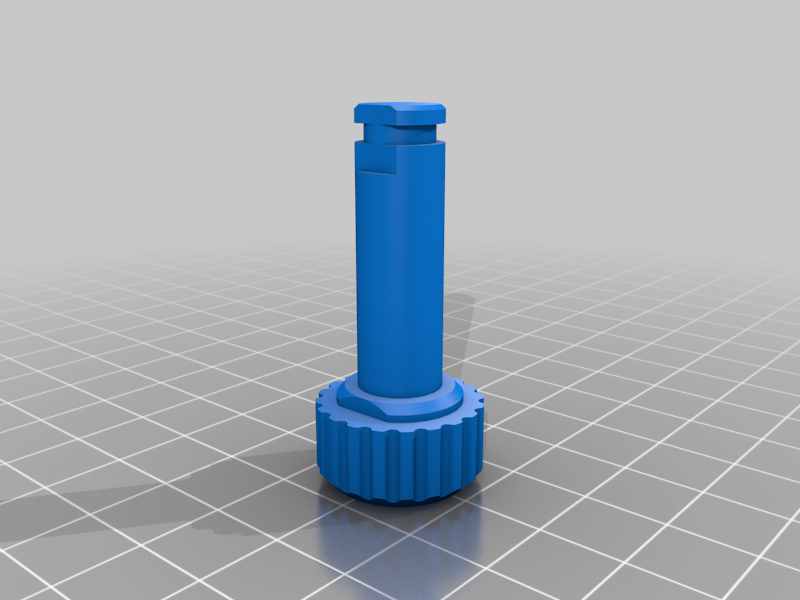
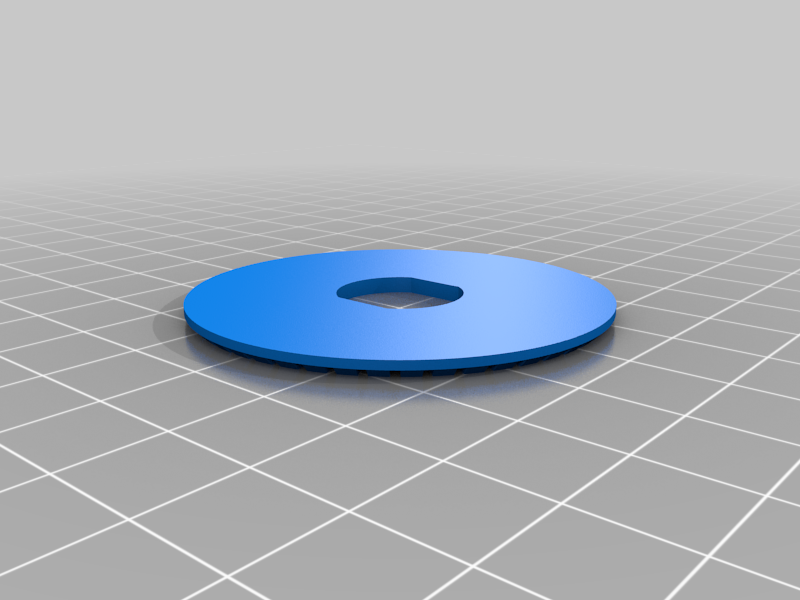
stlNumeric_disk.STL
416 Ko · 373 download
Descrizione
There is new and improved versions of this mechanism here:
https://www.thingiverse.com/thing:5853561
https://www.thingiverse.com/thing:5888898
This is a simple design of a safebox with numerically secured mechanical system. The assembly can be verified in the attached images.
Important: do not use glue to mount the markers on the disks at first. Mount the whole system on the vault door and perform the unlocking tests with the vault OPEN.
After you assemble the mechanism on the door, take time to understand how this kind of safe works. When you turn the external knob clockwise, it rotates the disk fixed on the shaft at the opposite extremity, inside the box. This disk turns and pushes, through the markers, the second disk. The second disk pushes the third disk, and the third disk pushes the fourth disk. When the indentation on the fourth disk aligns with the latch, stop the movement and take note of the number aligned on the dial with the arrow. This is your first combination number. Now reverse the rotation (counterclockwise) and proceed until the third disk is also aligned. Again, take note of the second number in your combination. Do the same for the remaining disks. Once all the disks are in the correct position, you have cleared the way to move the latch.
Here is an example of the combination shown on the attached video:
- Rotate the knob three times clockwise to be sure that all the disks are moving together;
- Rotate the knob clockwise until the number 88 aligns with the arrow;
- Rotate the knob counterclockwise and pass the number 98 two times. On the third time, stop exactly at 98;
- Rotate the knob clockwise, passing by the number 26 one time. On the second time, stop exactly at 26;
- Rotate the knob counterclockwise, stopping exactly at 50.
Only after the tests are done and the password is written down, do the final assembly, applying glue to the disk markers. Test the code once more with the vault door open to make sure the password you wrote down is correct.
There are two sizes for the safe box, so choose the one that best suits you.
Please, contact me if you need any help.